Workbench
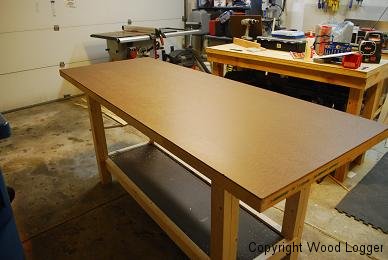
I’ve had a workbench that I made about 8 years ago. It was truly a basic workbench. Four legs and a top. What I truly want in my shop is a bunch of cabinets with hard counter tops. Something out of a wood magazine cover shot. Alas, I don’t have (nor I do really want to spend) the money for something that grandiose. So I’ve decided to build a new workbench and use the existing workbench as another bench that will go up against a wall in my garage.
For the new bench I wanted something SOLID, and affordable (no sjoberg tabletops here), and something I could actually build in a weekend or two. I found a pretty good, and affordable workbench design at amazon titled: Basic Workbench and 6 Ways to Beef it Up: Downloadable Woodworking Plan I’ll include a picture with a clickable link at the bottom where you can take a look at this if you like. Amazon has a pretty nice feature that allows you to download plans directly to your computer. Another nice thing about this plan is it includes six really nice upgrades to the bench and has complete plans for it. I also built a set of drawers from the plans for the table and I have an entry for that if you want to check out it out here.
Materials
For the lumber I used Kiln Dried Lumber. For the table top the design gave a really good tip to use a solid core wood door as a top and then put a layer of 1/4″ MDF on top of that. I was a little apprehensive about this at first. When I checked out the door it was REALLY solid (and weighs a ton). It was the same thickness as two sheets of 3/4″ plywood and it cost less. I was able to get the door and all of my lumber from Lowe’s. The door was approx. $45, and the lumber was about $45. My total cost for a new workbench works out to be about $90. Not to shabby for this solid workbench.
- (1) Solid Core Door 80″ x 30″
- (1) 1/4″ x 4′ x 8′ MDF Hardboard
- (6) 2″ x 4″ x 8′ Pine Boards
- (2) 2″ x 6″ x 8′ Pine Boards
Milling & Assembly
Finishing
To finish the bench I “broke” the edges with some sandpaper. I also applied a coat of clear Danish oil to all of the boards (not the top) to help preserve the wood. One other thing I did was to add some bench dogs at the end of the bench. I spaced them out approximately 6″ apart. I picked up a package (4 per package) of Kreg bench dogs that work really well with this. I’ll include links at the bottom of this page for everything I used to finish this.
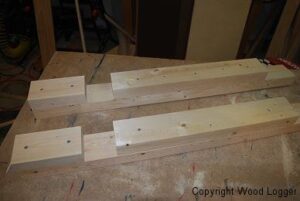
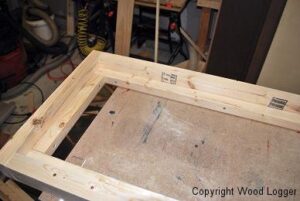
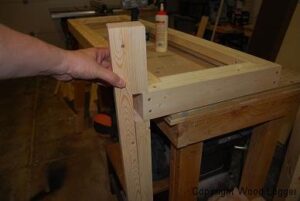
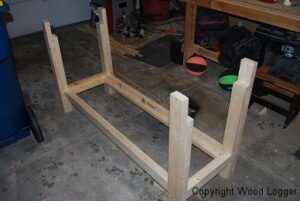
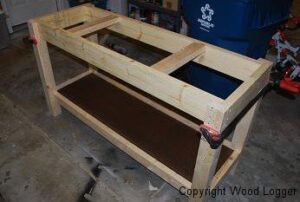
Your write-up says the legs were built with 2 x 6s, but the last pic looks like the top frame is made from 2 x 6s and the legs are 2 x 4s. With your BOM indicating only (2) pieces of 2 x 6 x 8′, there would not be enough to make the top frame and the legs.