Kids Picnic Table
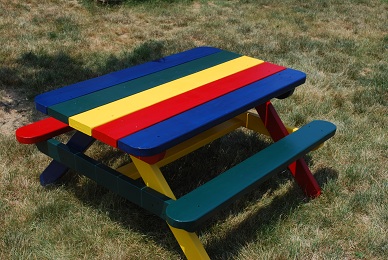
I was reading a post over at the Kreg Community site recently. There was a debate about whether to use 1″ thick lumber for a picnic table or 2″ lumber. Years ago, I had made a picnic table for my kids, but over the years it’s aged fairly hard. When I made that picnic table I chose to use 1″ lumber and I have regretted ever since. The thing about kids is they don’t actually sit at a picnic table. They prefer to jump up and down on them, or try to train the dog to chase them on it. Pretty much everything, but actually sit on them. Needless to say my 1″ decision wasn’t a very good one. The bench seat and the tabletop both sag quite a bit after you sit on them.
I decided to make another picnic table, and I chose a project design from one of my all time favorite woodworking books. The project is for a kids picnic table. This plan calls for using 1″ lumber as well, but I’ll be changing that to 2″. I had one other requirement on my new picnic table. The last time I did I made one I made it out of cedar and didn’t treat or protect the wood in way. This time I wanted to make one for the cheapest cost I possibly could, and this time I would paint it.
Materials
For the lumber I chose construction grade untreated pine. Since I’m going to paint this, and it’ll be used outdoors no sense going for the good stuff. I purchased all of the lumber I used for my project at Lowe’s. The total cost for this project (excluding paint) was just $24. I was able to make the entire project using:
- (4) 2″x4″x8′
- (4) 2″x6″x8′
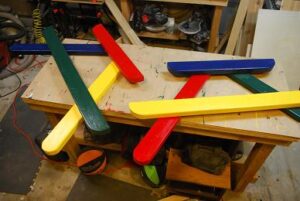
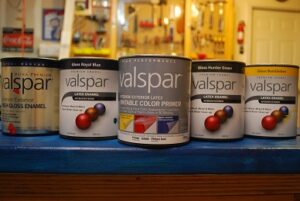
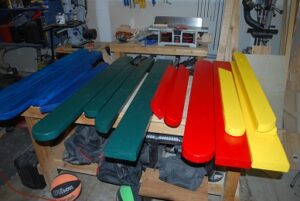
- 1 coat of primer, and 2 coats of 4 colors (I used green, blue, yellow, red)
Milling & Assembly
Talk about a super simple project. This truly was a project where I purchased, rough cut, finish cut, and sanded all of my boards in a single afternoon. Finishing on the other hand always takes me a long time. I still look at finishes and paint as some evil magic that I have to perform to complete my project (but more on that later).
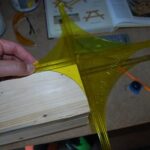
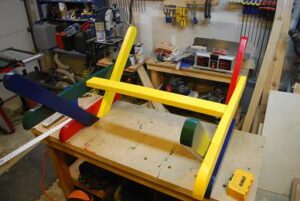
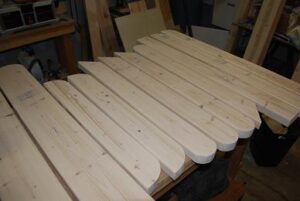
All of the cuts that I did on these boards were done with my compound miter saw. I had to create rounded boards for the legs of the table. To do this I used my trusty corner finder jig. After marking these up I made quick work out of these with my jigsaw. The milling part of this project was fairly simple. In hindsight I think I should have thickness planned these boards. There were a lot of imperfections on the boards that I had to work through during sanding. This is an outdoor picnic table, not a family heirloom so you have to balance the amount of work you want to put into a project like this.
Finishing
I’m so inspired by your picnic table design. I like it. Maybe its time for me to dig my power tools in my garage. Thanks for the idea! Keep it up!
Do you have instructions on how to make this table?
If you’re looking for detailed project plans you can find them in the Complete Woodworking Book I mention in the article.
how do I get plans for this job