How to Turn a Cheese Slicer – Rockler Kit
Making the Rockler Cheese Plane Turning Kit
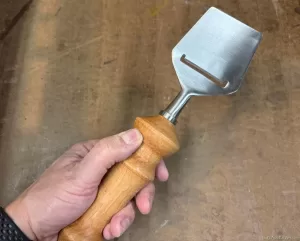
I recently completed a cheese slicer handle project with a Rockler cheese slicer kit, and the results were fantastic. The design allows the slicer to detach easily from the handle, making it very convenient to clean. For this project, I turned the handle from cherry wood, which added a beautiful, polished finish. Rockler’s cheese slicer kits are perfect for both beginner and experienced woodturners, as they’re easy to use, fun, and a great way to hone essential woodturning skills.
These kits make it simple to practice various woodturning techniques and create a functional, custom kitchen tool at the same time.
For anyone turning handles on a lathe, here are a few tips:
- Use the Right Tool: Start with a roughing gouge to shape the handle, then switch to a spindle gouge for detailed work.
- Secure and Align the Wood: Ensure your wood is centered and secure on the lathe to avoid vibrations, which can affect precision.
- Smooth Sanding for Comfort: Sand down the handle, progressing from lower to higher grits, for a smooth, comfortable grip.
Overall, handle projects like this cheese slicer make a rewarding and quick project, especially when experimenting with different wood types like cherry!
If you make one of these be sure to post a picture of it over on the WoodLogger Facebook Page. I’d love to see how yours turns out. (pun intended)
Featured Video
Material List
- (1) Cheese Slicer Turning Kit (Rockler)
- (1) 2″ x 2″ x 6″ Wood Blank (I used Cherry)
- (1) Optional 3/4″ Turning Mandrel (Rockler)
Milling & Assembly
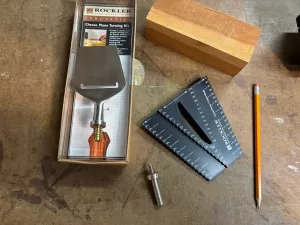 | This turning kit was a solid choice from Rockler. The slicer is desinged to screw into the base and allows for easy cleaning. I used an accessory mandrel to help with turning this. For the wood I chose to use a block of cherry wood. |
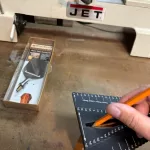 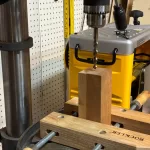 | The first step to get started is to find the center of the block on one end. I used a center finder to help with this. If you don’t have a center finder just use a ruler to mark an X off by drawing a line across each end. The plan for this scoop called for hole to be drilled that is 3/8″ drill bit and drilled 1″ deep. |
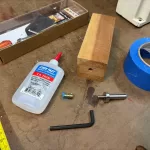 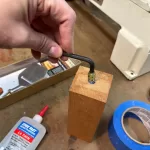 | Next up was installing the inset. For this I used CA glue and used the included allen wrench to screw the inset into the wood. |
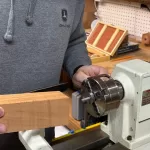 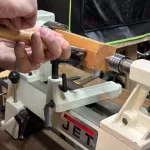 | Although it’s an optional piece I would highly recommend using the mandrel that rockler sells for this kit. It can be used for other kits that Rockler sells too. I screwed in the wood to the mandrel and then turned the handle using a bowl gauge, and skew. |
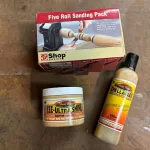 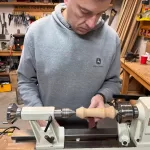 | After turning the handle I used a 5 pack of sanding papers that range from 150 grit sand paper to 600 grit. I worked my ways through the grits and then moved on to waxing the handle. For waxing I used EEE Ultra Shine and applied a few coats. After that I applied a coat of Shella Wax. |
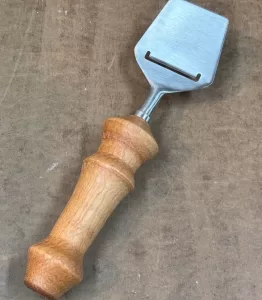 | This turning kit turned out great. It’s an easy to turn handle, and the kit has everything you need (minus the optional mandrel). The easy to remove scoop makes it easy to clean and should last for years. |