

Chickadees and Nuthatches are charming backyard visitors. Chickadees are known for their distinctive “chick-a-dee-dee-dee” call and are highly social birds, often seen flitting between feeders and trees. Nuthatches, on the other hand, are agile climbers that can often be spotted moving headfirst down tree trunks. Both birds enjoy sunflower seeds and peanuts, making them likely to visit a well-placed feeder.
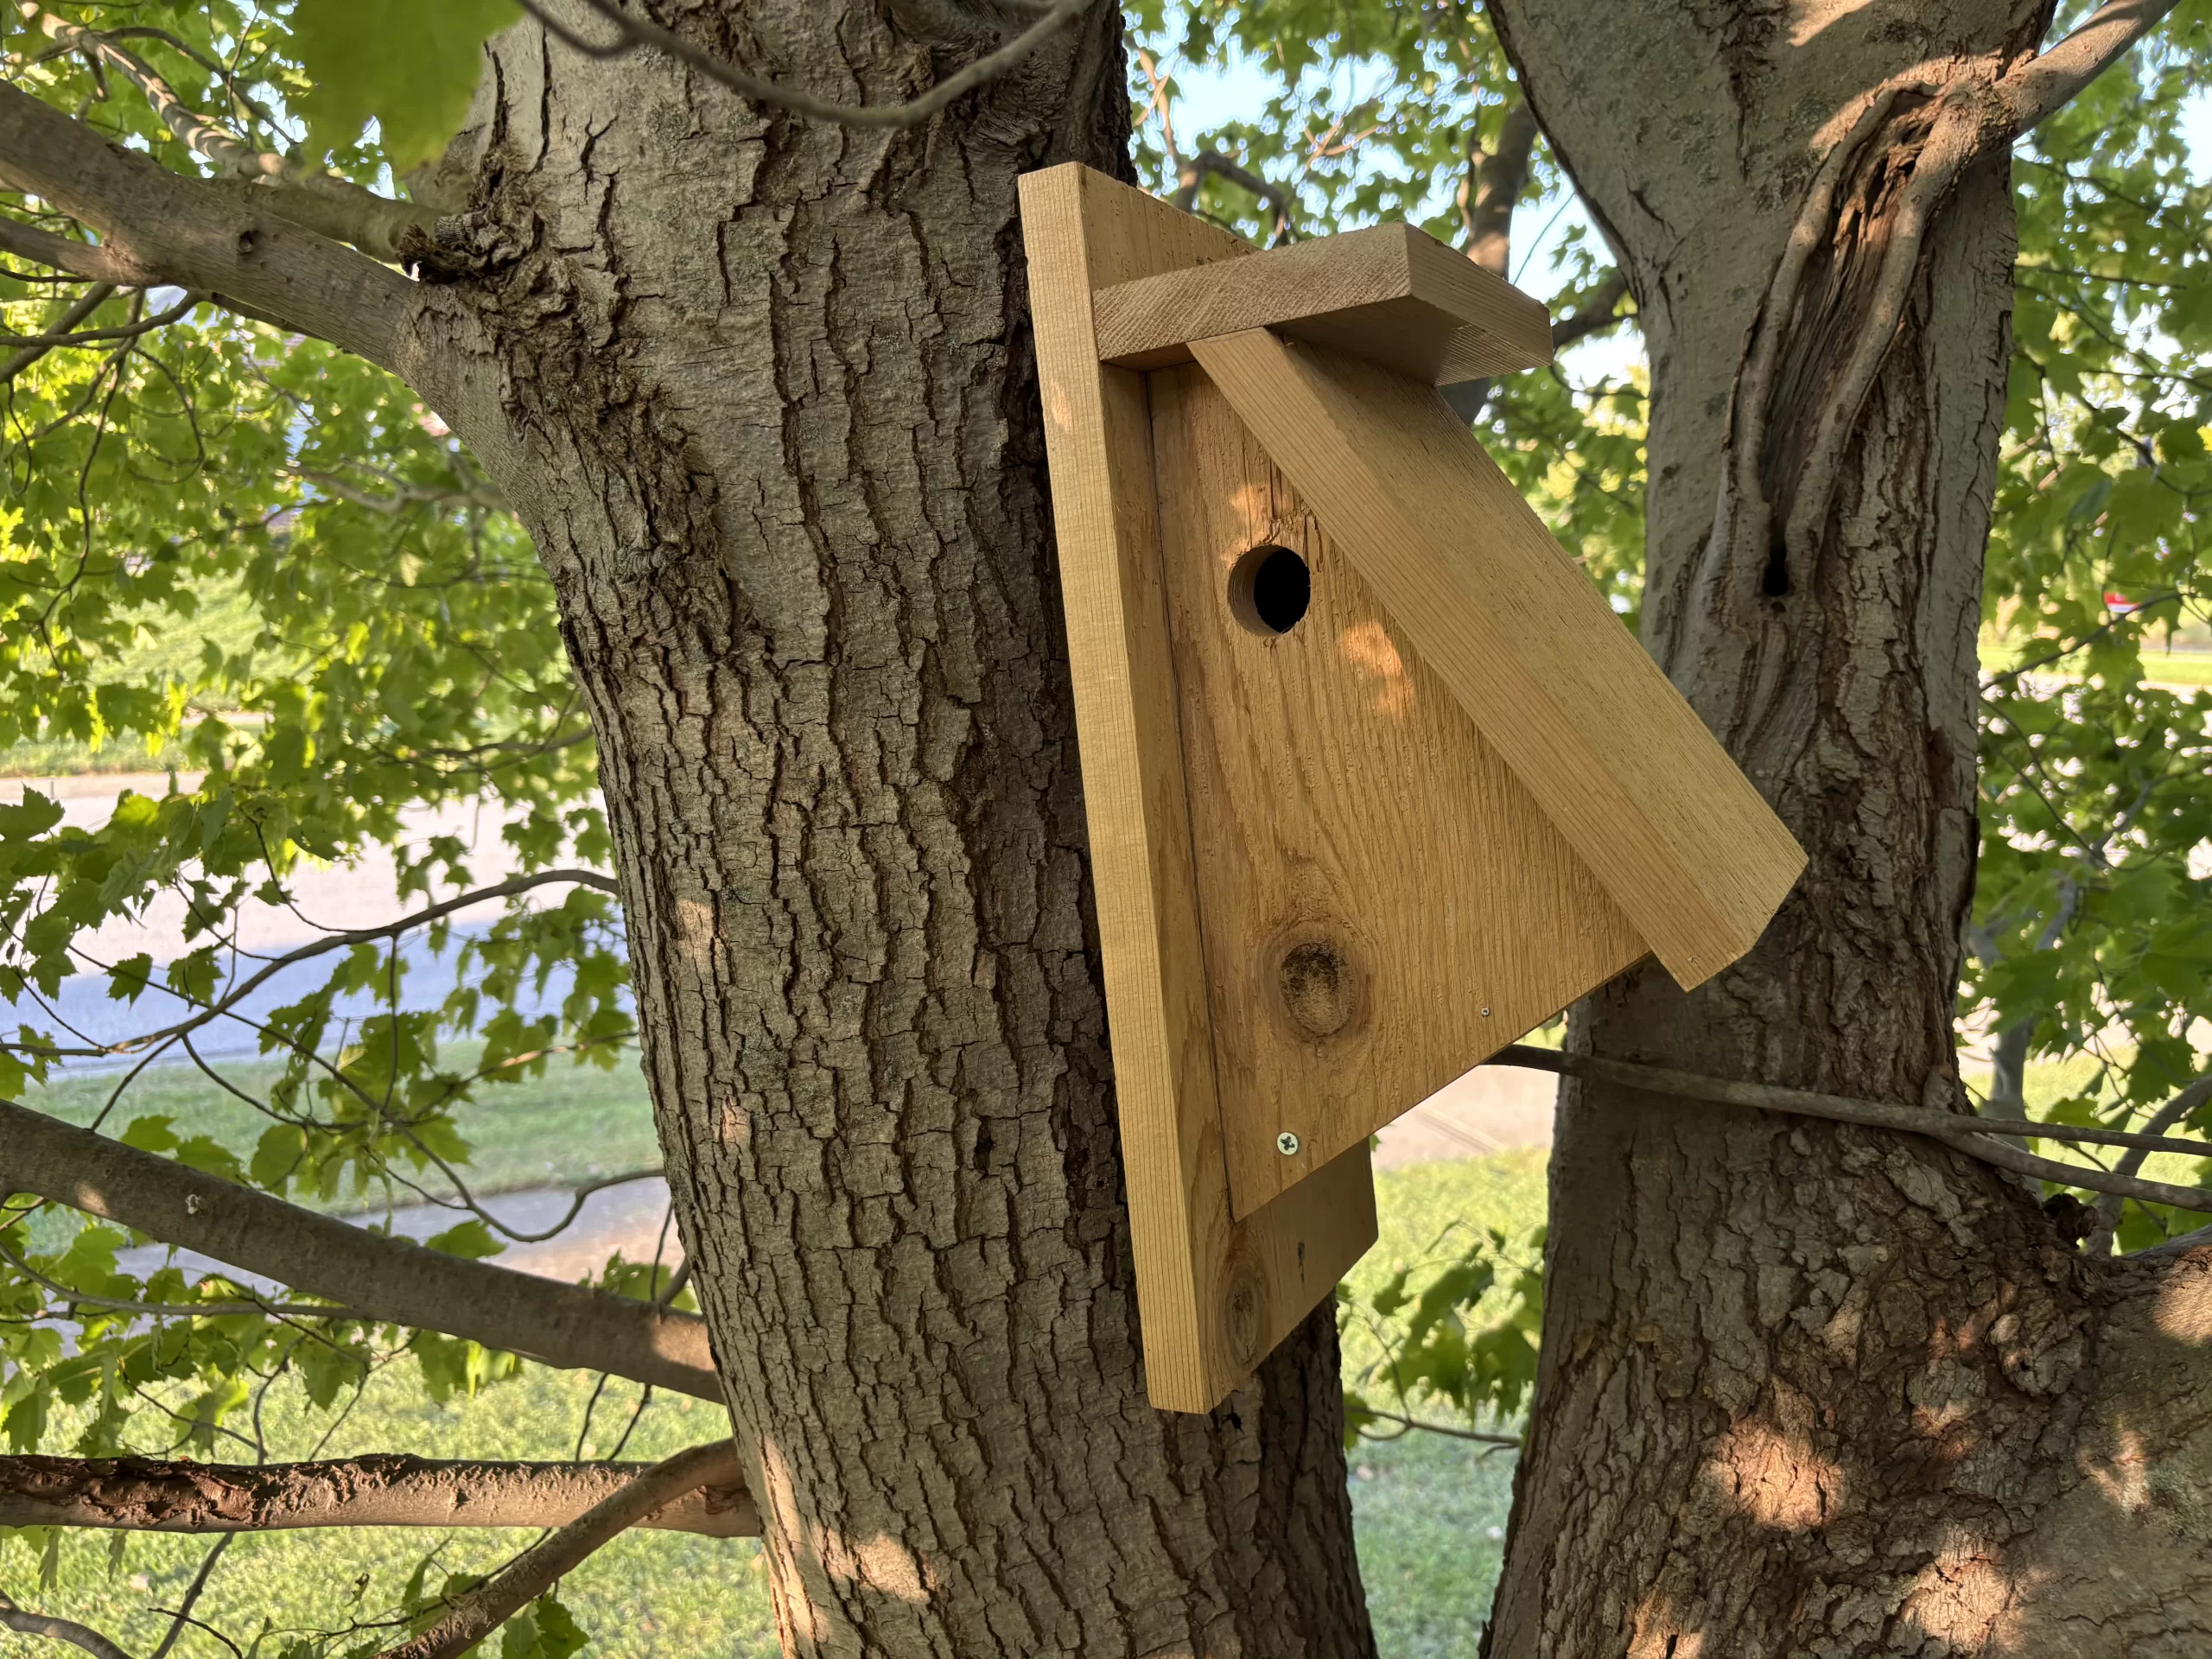
While I made a few modifications to my design, the cuts and assembly remain simple, making this an excellent beginner woodworking project for anyone looking to attract Chickadees and Nuthatches to their backyard. Setting up this birdhouse not only provides a cozy home for these delightful birds but also creates an opportunity for hours of enjoyable birdwatching.
If you make one of these be sure to post a picture of it over on the WoodLogger Facebook Page. I’d love to see how yours turns out.

Material List
(1) 1″ x 7″ x 8′ – cedar
Cut List
(1) .75″ x 7″ x 16″ – back
(2) .75″ x 7″ x 11.5″ – sides
(1) .75″ x 4″ x 7″ – lower front/door
(1) .75″ x 7″ x 10.5″ – roof
(1) .75″ x 3″ x 7″ – top
Milling & Assembly
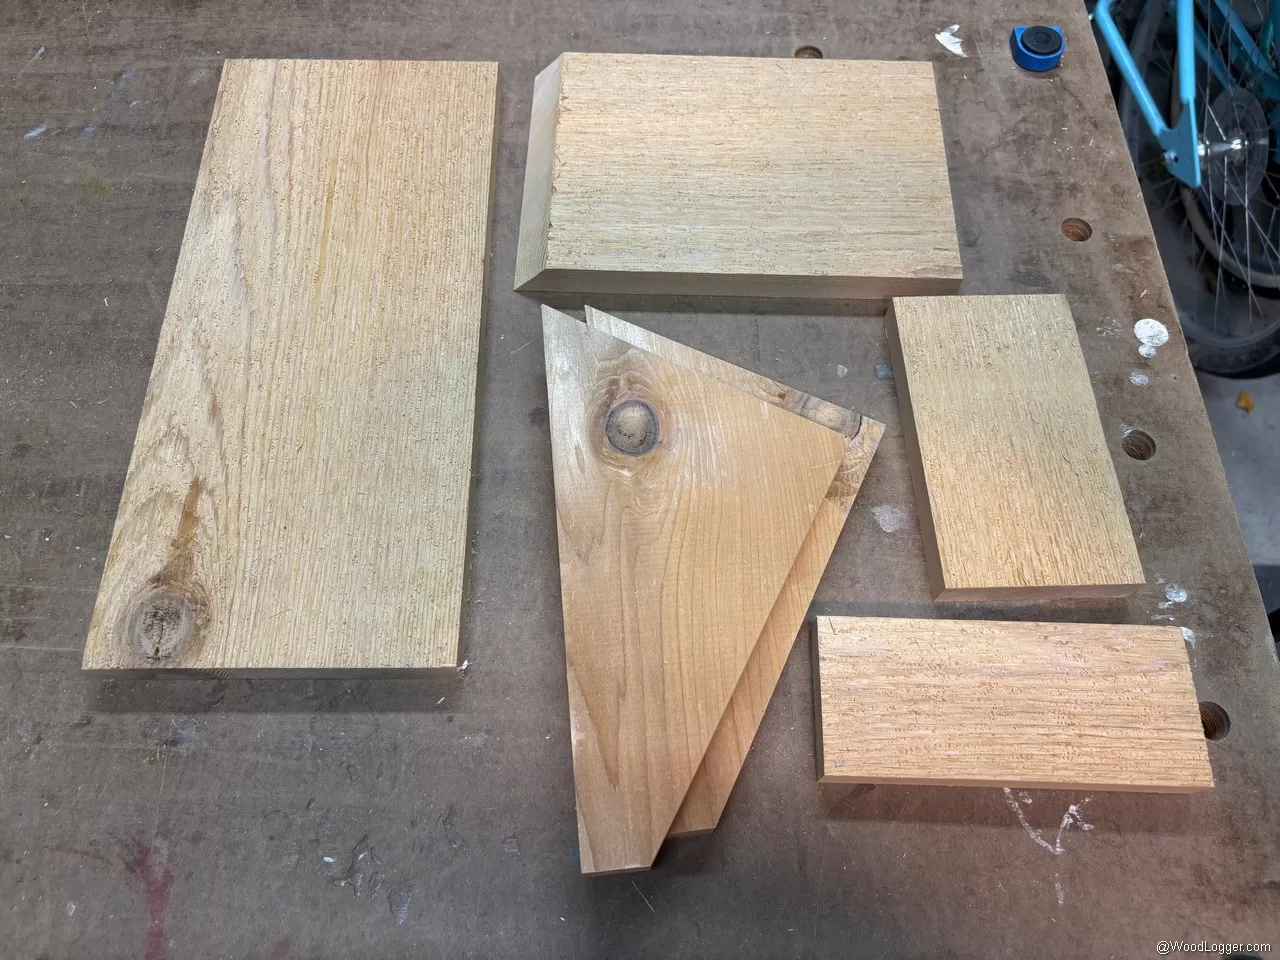  |
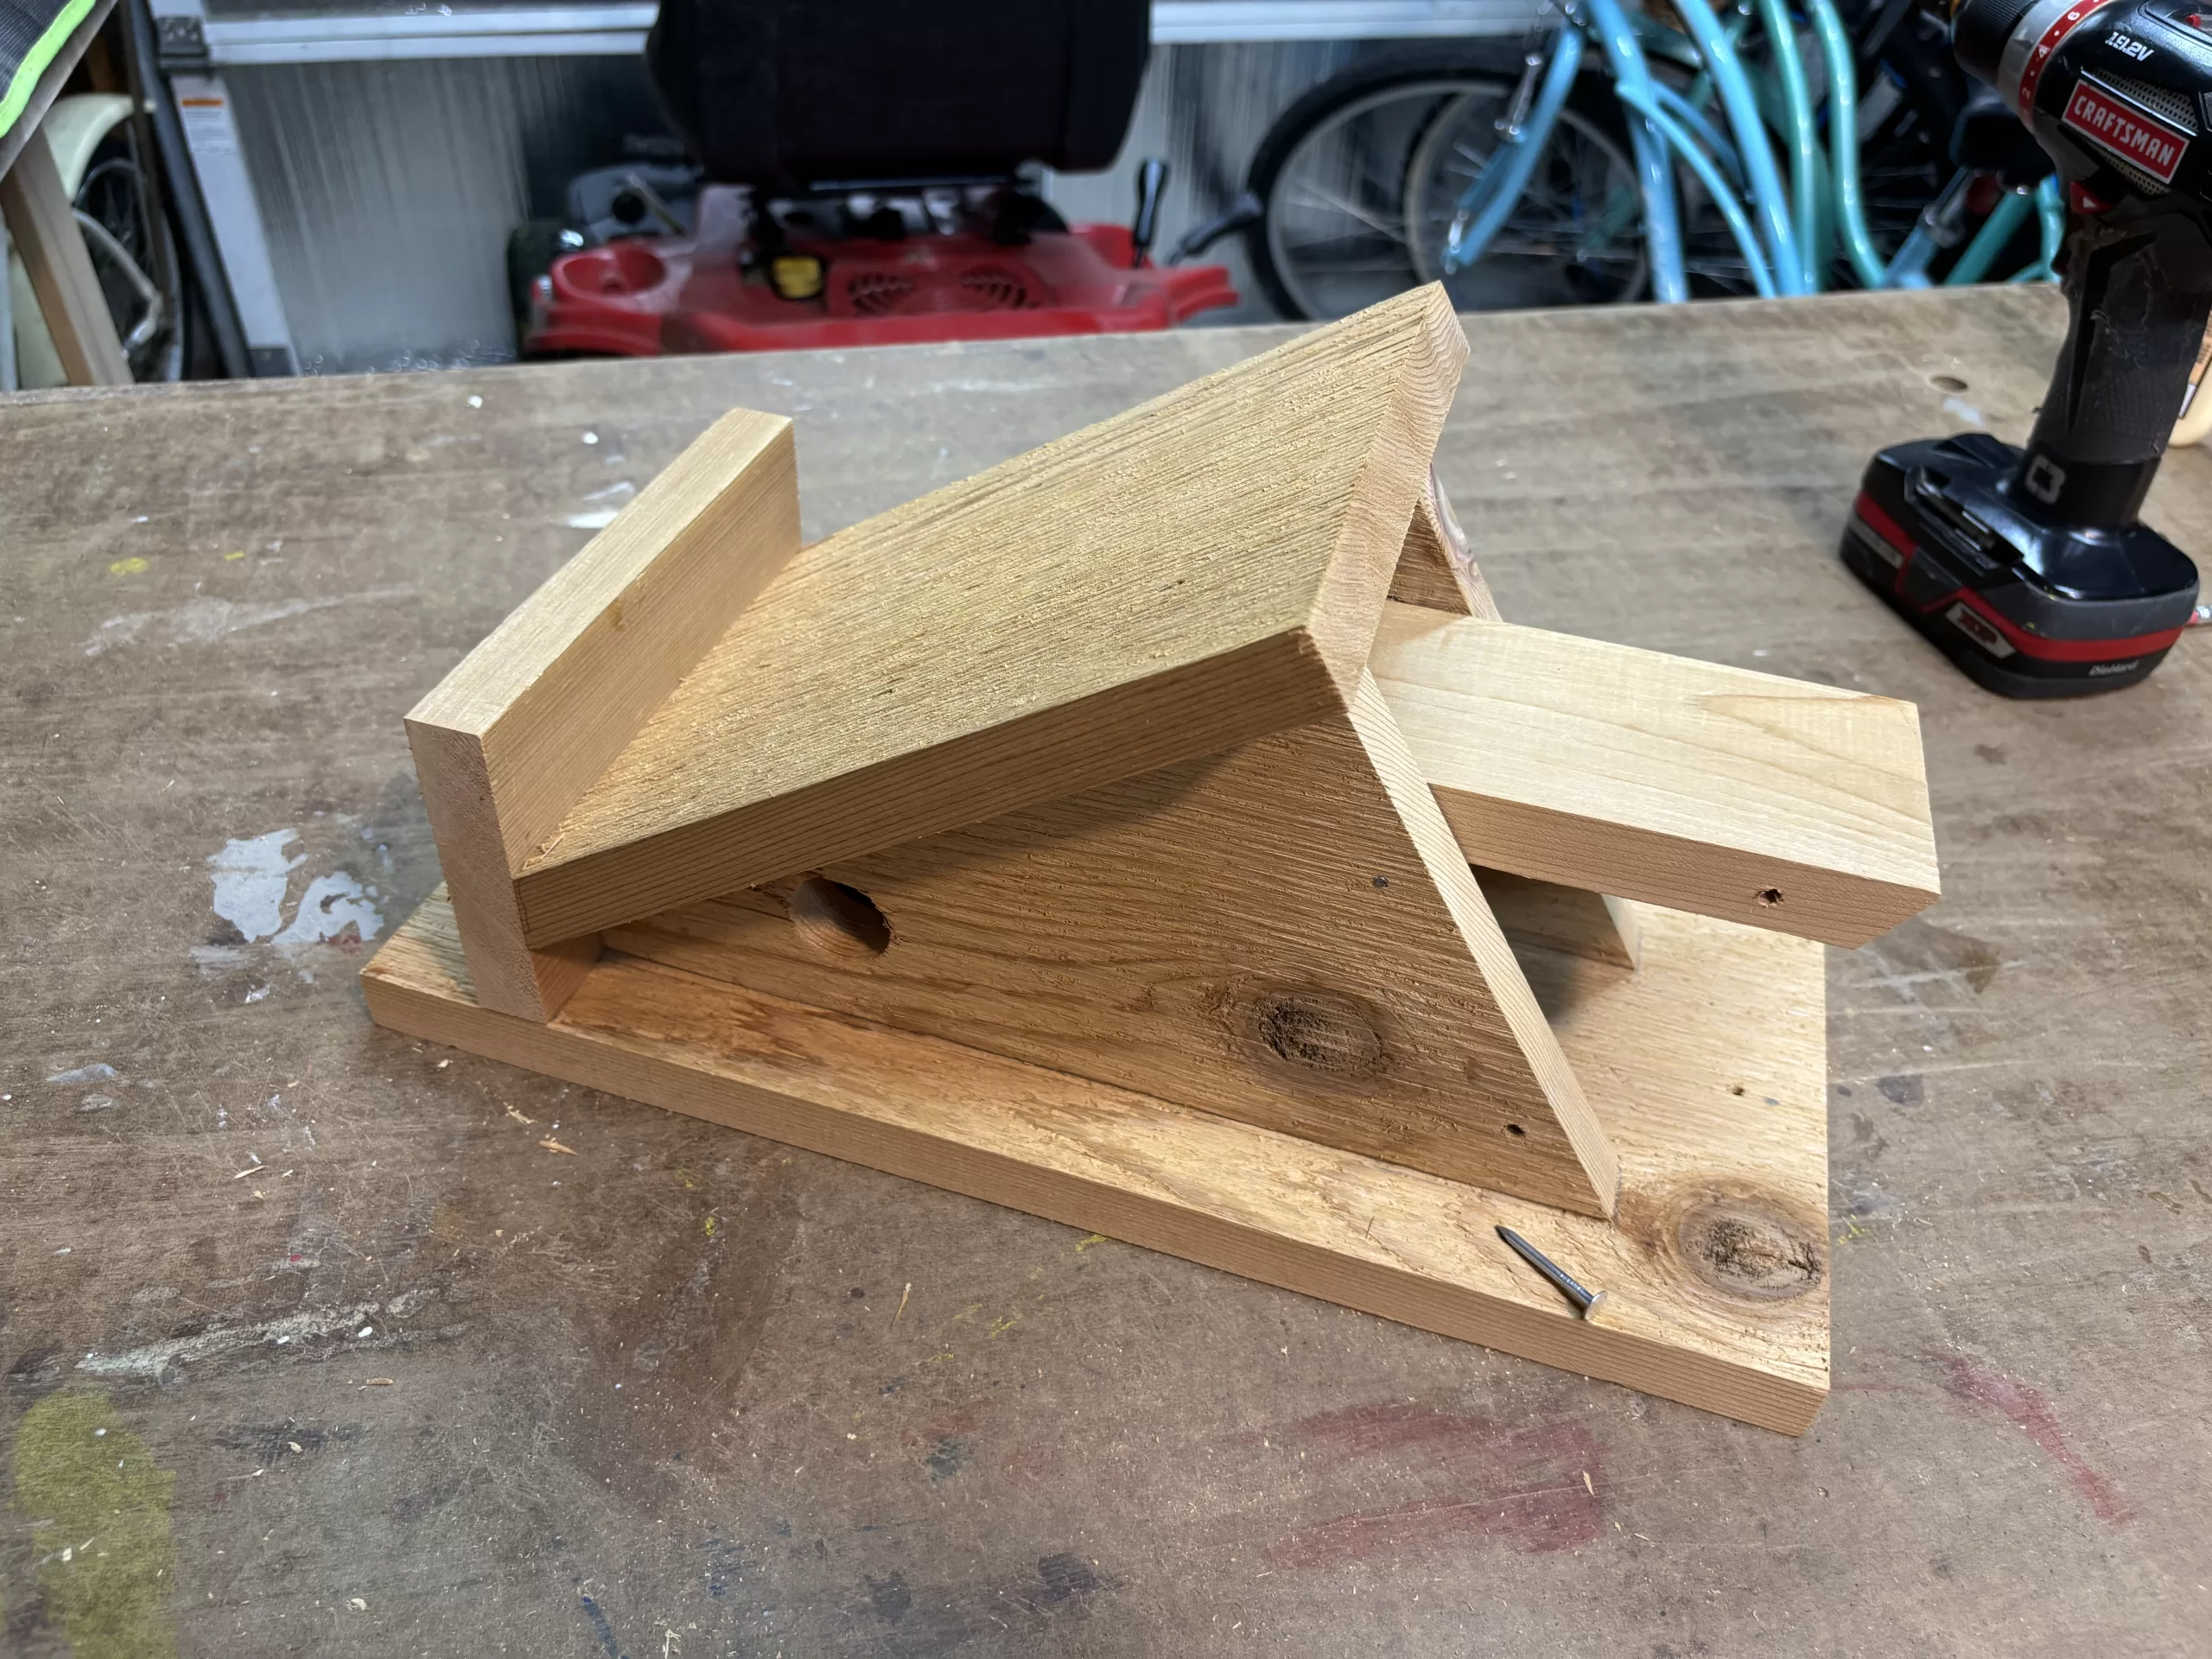
The rough cuts for most of the parts are fairly straightforward. For the sides, there’s a simple trick: tape the two pieces together and run them through your table saw. This ensures a perfect match between the two pieces. |
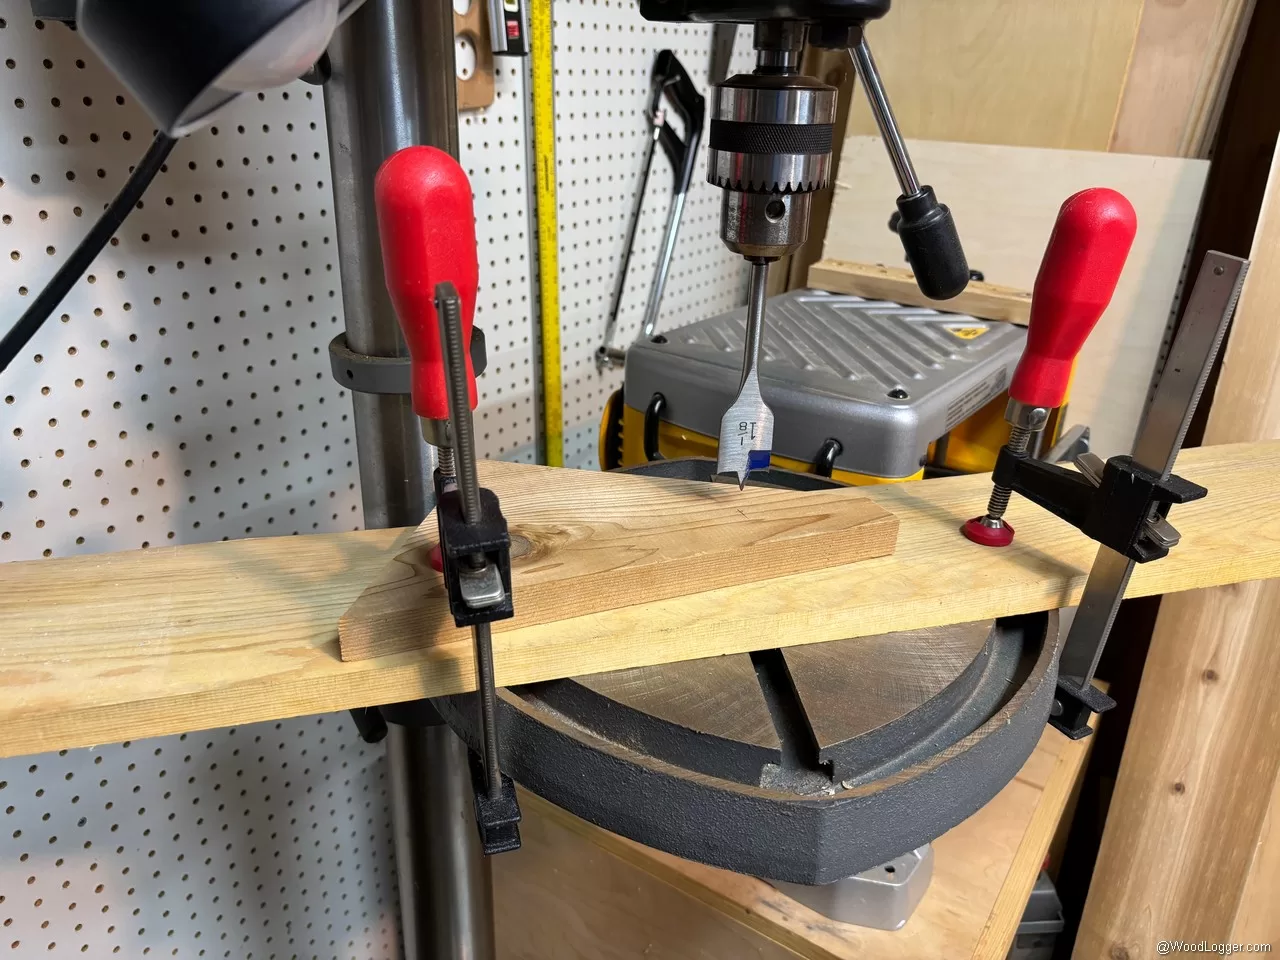 |
On one side, you’ll need to drill a 1-1/8″ hole, which is the perfect size for Chickadees and Nuthatches. I used a spade bit on my drill press to make the hole. |
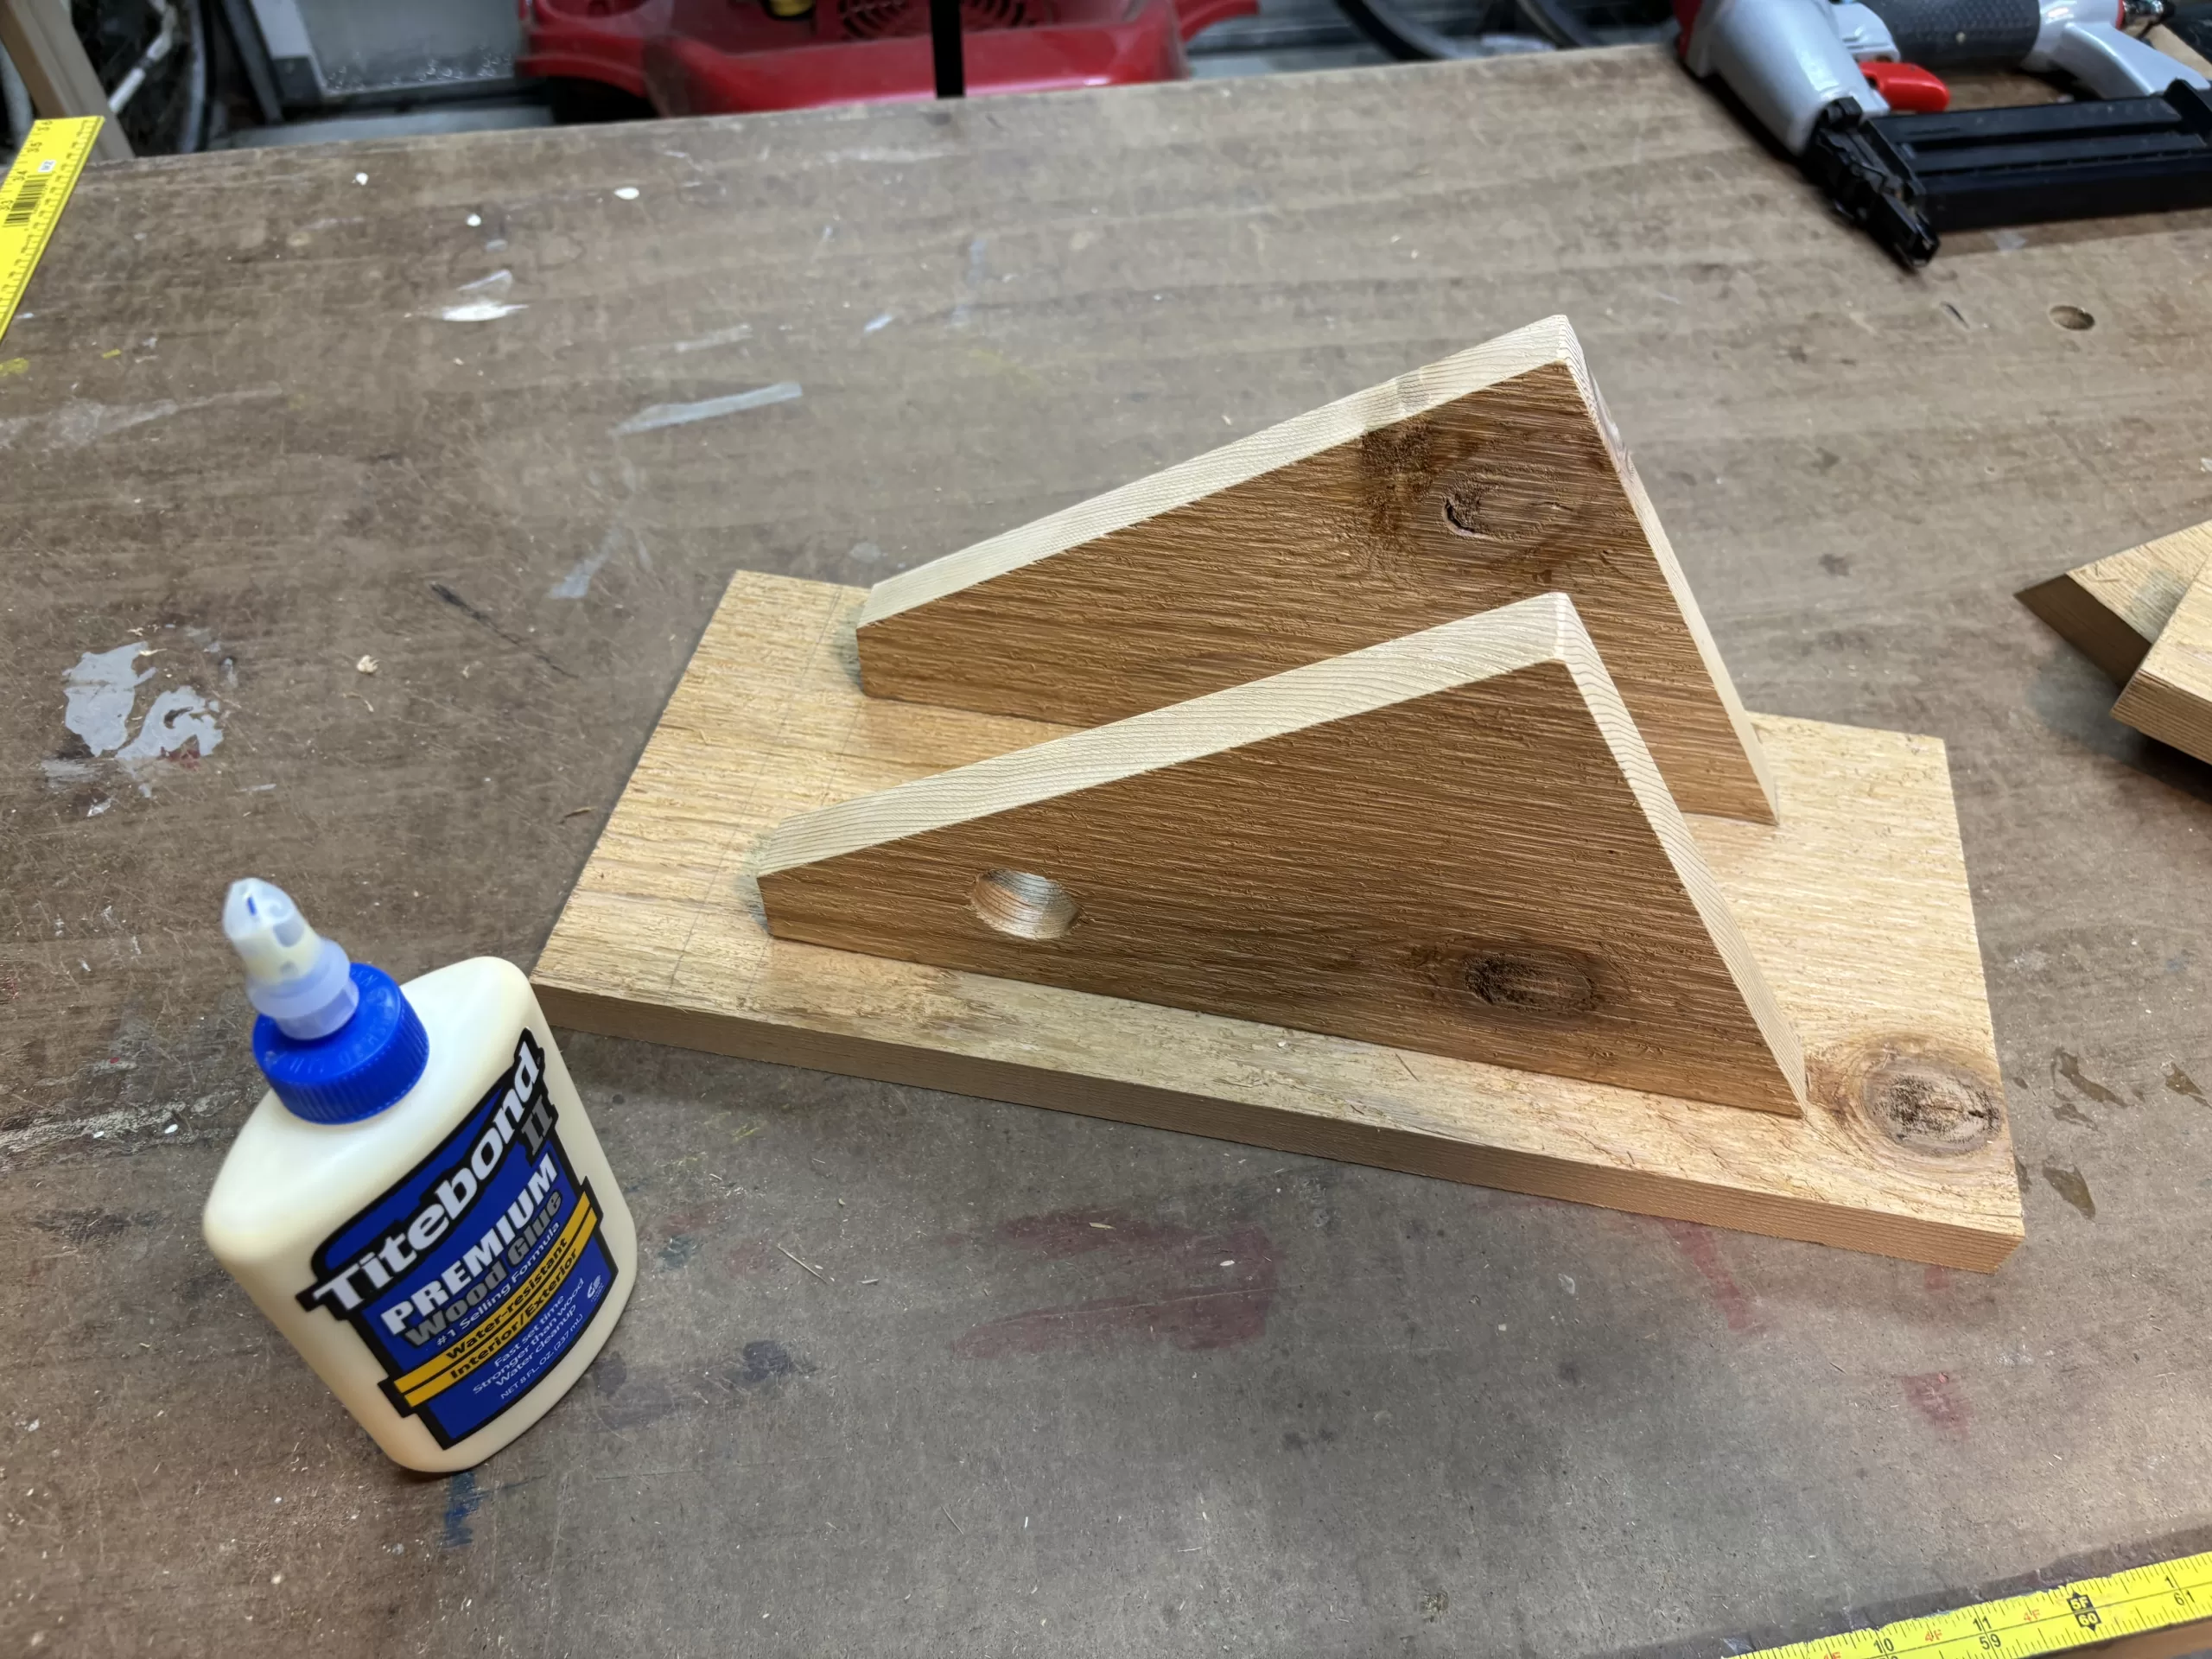 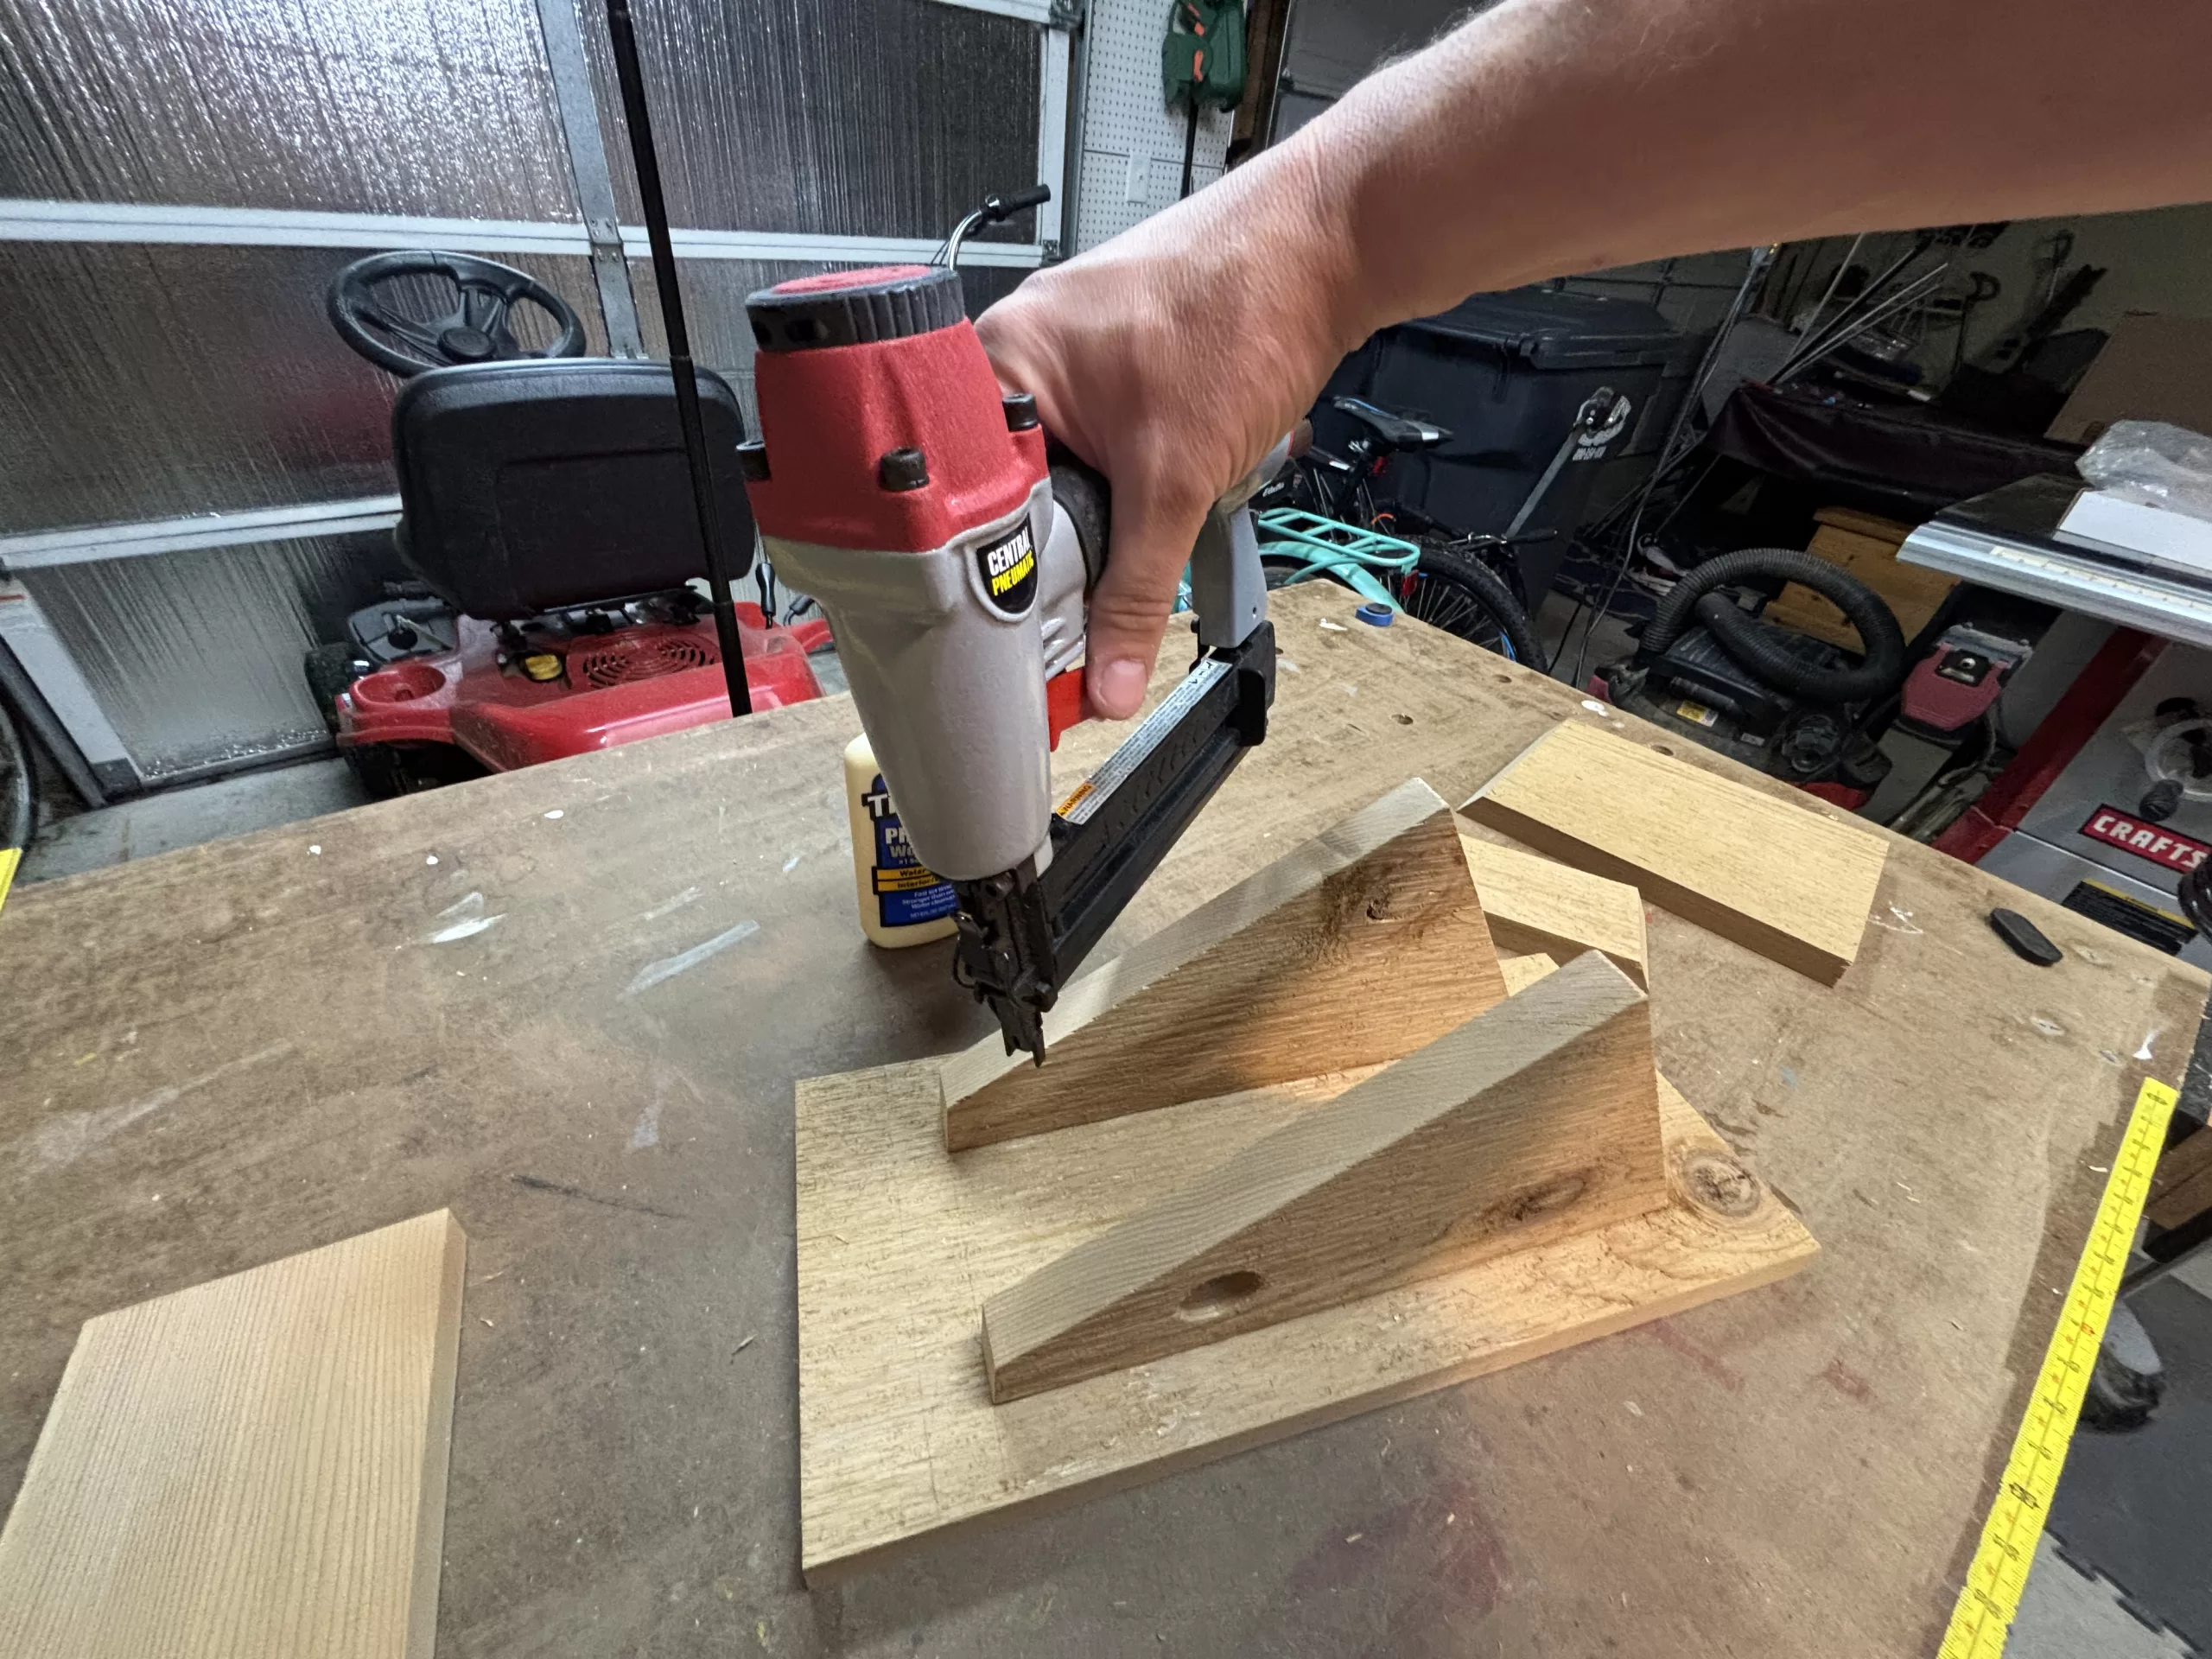 |
Next, it’s time for the assembly. I used exterior-rated wood glue for the joints, along with brad nails for extra reinforcement. To ensure proper alignment, I used the bottom piece as a spacer to position the two sides of the house. The top was placed approximately 1-1/2 inches from the upper edge. I also marked the locations of the boards on both sides of the back piece with a pencil. These markings will be helpful when flipping the back over to secure the sides and top with brad nails. |
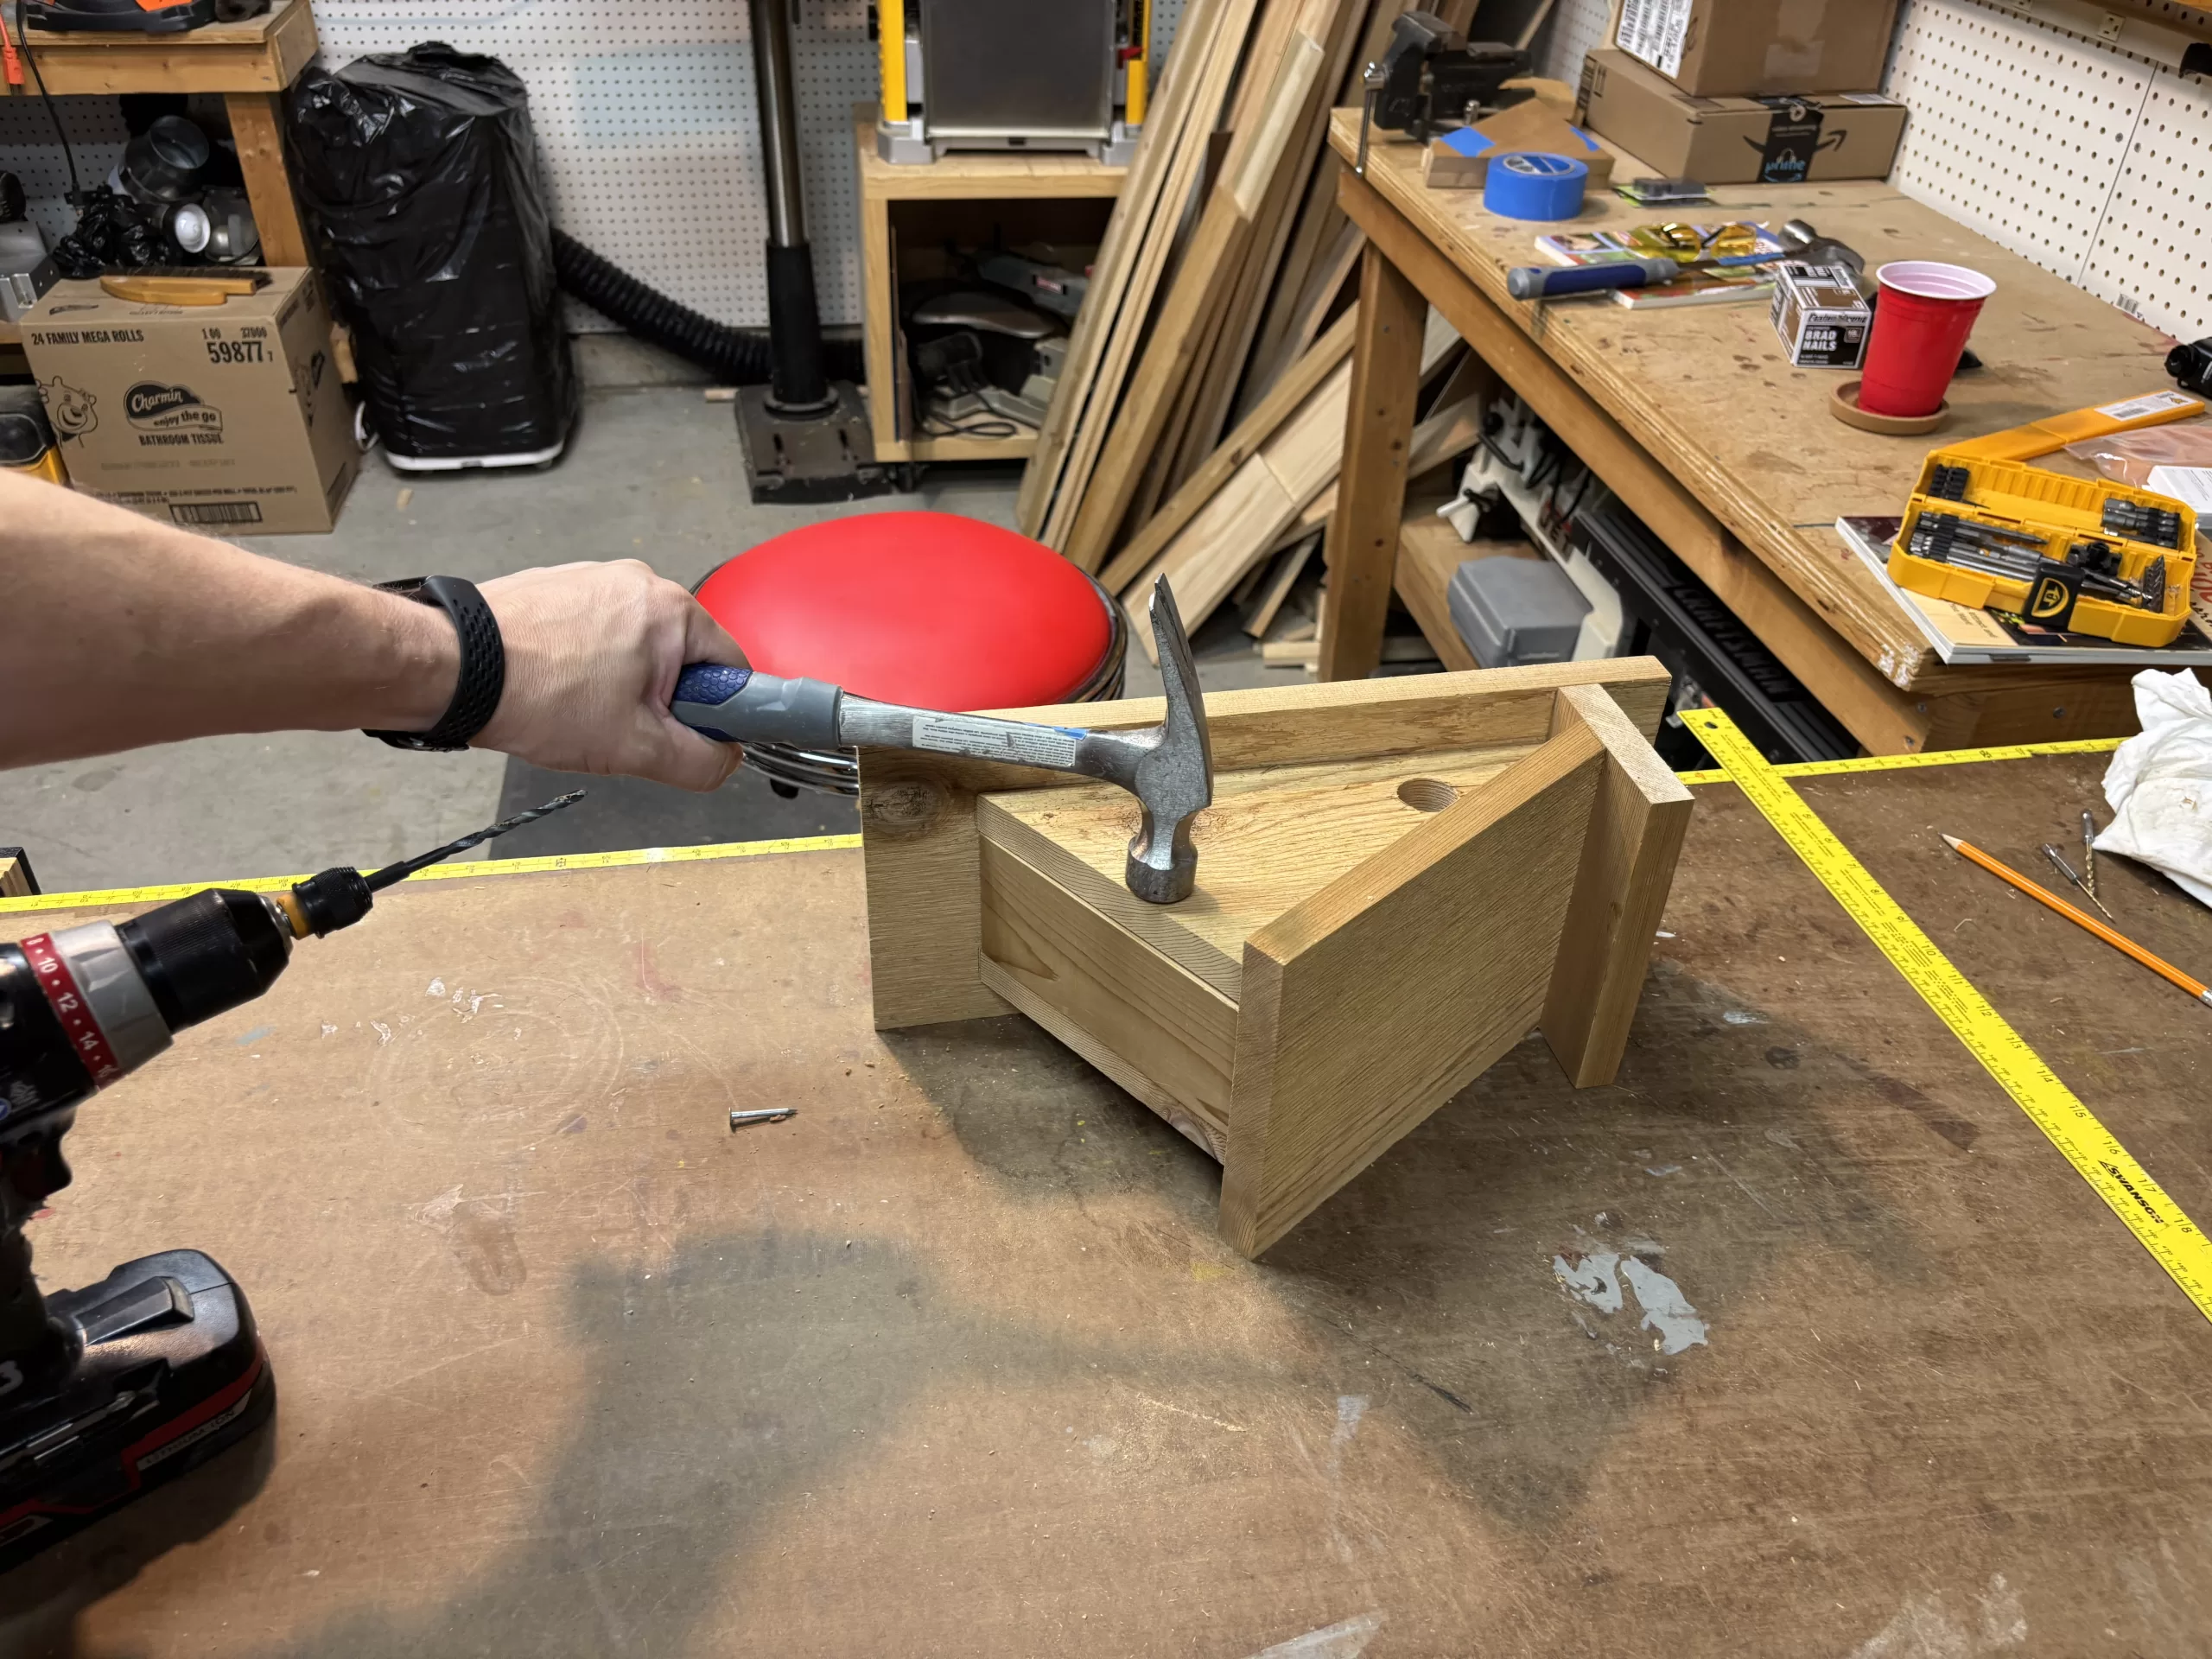  |
After attaching the sides and top of the house, I installed the bottom piece using finish nails on both sides. This holds the bottom securely in place while still allowing it to swing open like a hinge. Additionally, I drilled a hole near the bottom of one side, extending into the bottom, to insert a screw. This screw keeps the bottom locked but also makes it easy to open for cleaning when needed. |
 |
Here’s the finished house with the bottom open. This project is both fun and perfect for beginners, and I’m sure the chickadees and nuthatches will enjoy it as well! |