How to Make a Custom Cheese Slicer with the Rockler Cheese Slicer Kit
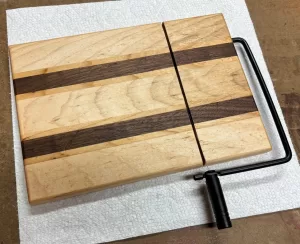 Creating a custom cheese slicer with the Rockler Cheese Slicer Kit is an enjoyable woodworking project that combines functionality with creativity. This project is perfect for beginners and seasoned woodworkers alike and makes an excellent gift or addition to your kitchen. Follow this step-by-step guide to craft a unique cheese slicer that’s as beautiful as it is practical.
Featured Video
Why Choose the Rockler Cheese Slicer Kit?
The Rockler Cheese Slicer Kit simplifies the process of crafting a cheese slicer by providing high-quality hardware, including the cutting wire and arm. This allows you to focus on designing and building a stunning wooden base that’s fully customized to your preferences.
Benefits of using the Rockler Cheese Slicer Kit:
- Easy to assemble
- Durable, professional-grade hardware
- Allows full creative control over the wooden base design
Materials Needed
Wood for the Base:
- Hardwood such as maple, cherry, walnut, or teak (dimensions: 8-11 inches long, 6 inches wide, and 3/4″ inch thick)
Hardware and Finishing:
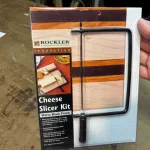
- Rockler Cheese Slicer Kit
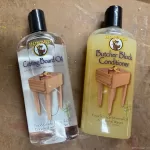
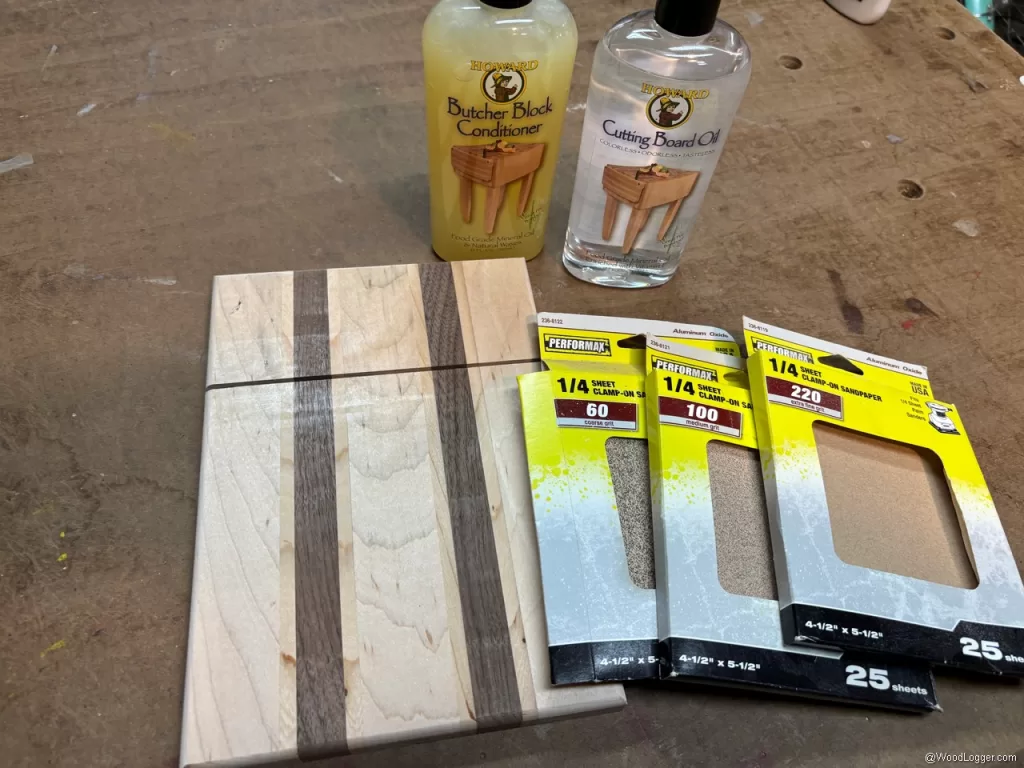
- Food-safe wood finish (e.g., mineral oil, beeswax, or food-grade cutting board finish)
Tools Needed
- Table saw or circular saw
- Drill and drill bits (as specified in the kit instructions)
- Router (optional, for edge detailing)
- Sandpaper (60-grit to 220-grit)
- Clamps
- Measuring tape
- Pencil
Step-by-Step Instructions
Step 1: Select, Cut, and Prepare the Wood
Choose a durable hardwood for the base to ensure longevity. Cut the wood to size (approximately 8 x 6 inches) and sand it thoroughly.
- Decide how many pieces (or possibly 1 single piece) and design for layout of board. In my case I used strips of walnut, maple, and cherry.
- Rip strips of wood to length. In my case 11″ long.
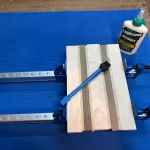
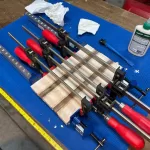
- Glue and clamp up the boards in the desired pattern. I used an exterior rated glue, as I wanted to ensure it was water proof.
- I used 7 clamps with mine. Increase or decrease based on size of your project.
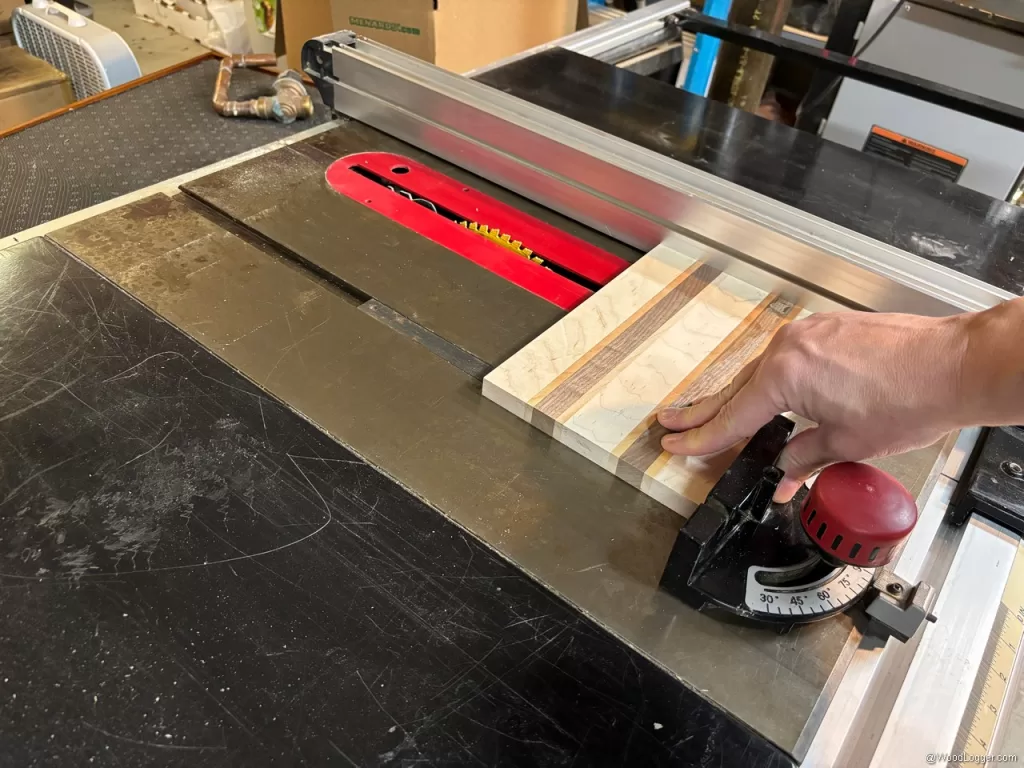
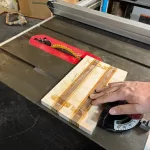
- Lastly cut the board to a finish length. In my case the final size was 7″ x 10″.
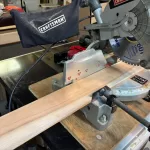
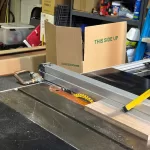
Step 2: Sanding
After Glueup you’ll want to sand your project. I like to use a square power sander, but this project is small enough that sanding by hand is easy enough.
Tips for accuracy:
- Start with 60-grit sandpaper to smooth rough surfaces.
- Finish with 220-grit sandpaper for a silky-smooth finish.
Step 3: Drill Holes for the Slicer Hardware
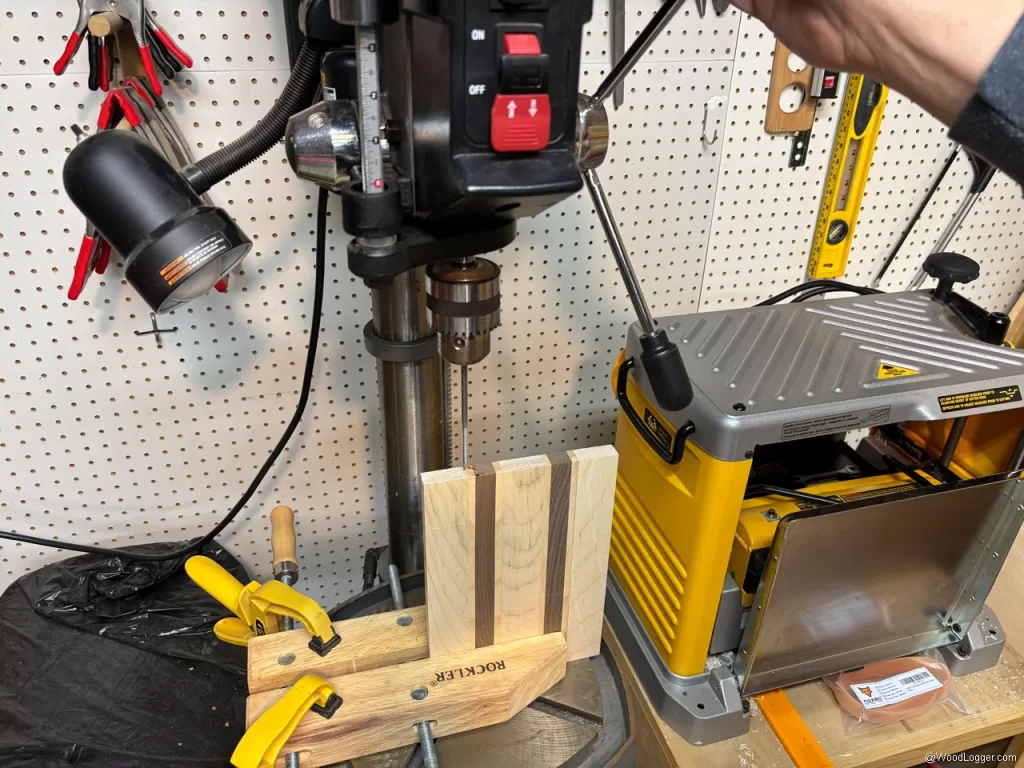
Refer to the Rockler Cheese Slicer Kit instructions for hole placement. Carefully mark the spots with a pencil and use a drill to create precise holes. The hole will need to be 3.75″ in depth using a .25″ drill bit. I used a spade bit with my drill press. The hole needs to be put 5.75″ from the bottom of the board per the kit instructions.
Tips for accuracy:
- Use a drill press if available.
- Ensure holes are perpendicular to the wood surface.
Step 4: Cut a Kerf
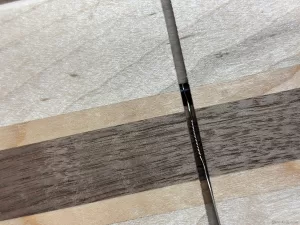
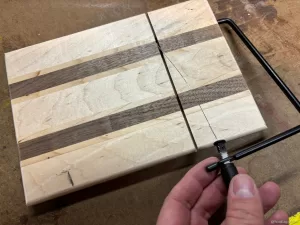
Cut a Kerf into the finish cut board that 3/8″ inches deep, and cut it 3″ from the end of the board per the kit instructions. The width of the cut is the width of a saw blade (1/8″).
Step 5: Add Edge Details (Optional)
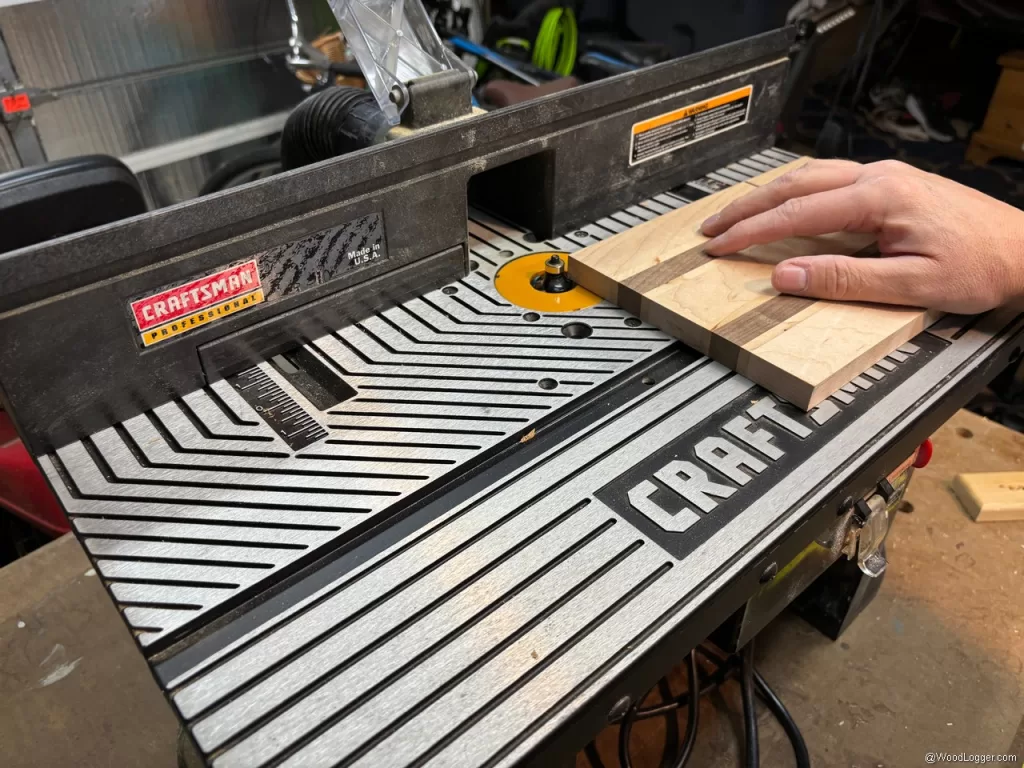
For a professional touch, use a router to round over or chamfer the edges of the base. This adds elegance and makes the slicer more comfortable to handle. In my case I used a 1/4″ round over bit on the top of the board. I like to route with my router table whenever possible, but that’s optional too.
Step 6: Apply a Food-Safe Finish
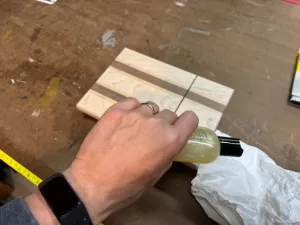
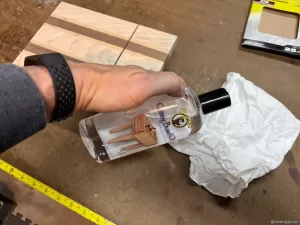
Protect the wood and enhance its natural beauty with a food-safe finish. Use a clean cloth to apply mineral oil, beeswax, or cutting board conditioner.
- Apply 2-3 coats for maximum protection.
- Let each coat soak in before buffing to a soft sheen.
Step 7: Assemble the Cheese Slicer
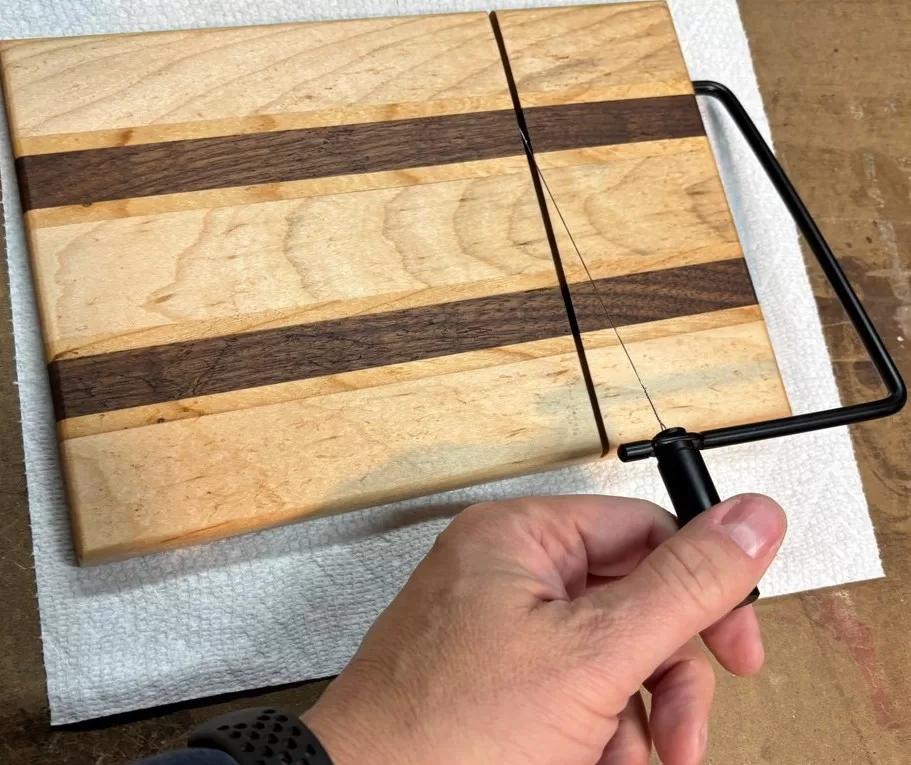
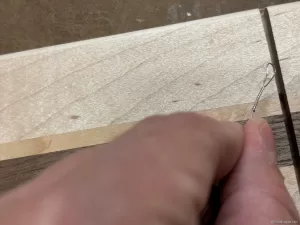
Attach the slicer arm and cutting wire to the base using the provided hardware. Follow the instructions included in the Rockler Cheese Slicer Kit to ensure proper tension and alignment. This kit is VERY easy to assemble. The wire slides into the kerf and attaches to the slicer arm.
Tips for Success
- Choose the Right Wood: Dense hardwoods like maple or walnut are durable and resist wear. Avoid softwoods that may dent easily.
- Double-Check Measurements: Accurate hole placement ensures smooth assembly. Measure twice, drill once!
- Keep It Food-Safe: Only use finishes labeled safe for food contact.
Why This Cheese Slicer Makes a Great Project
A custom cheese slicer is both functional and stylish, perfect for entertaining or gifting. By combining the Rockler Cheese Slicer Kit with your woodworking skills, you can craft a piece that reflects your personal style while providing a practical kitchen tool.
Final Thoughts
Making a custom cheese slicer with the Rockler Cheese Slicer Kit is a rewarding and straightforward woodworking project. Whether for yourself or as a gift, this project is sure to impress. With its professional-quality hardware and the ability to personalize the design, you’ll end up with a unique and highly functional piece.
So, grab your tools, select a beautiful piece of hardwood, and get started on your one-of-a-kind cheese slicer today!
Keywords: Rockler Cheese Slicer Kit, DIY cheese slicer, woodworking cheese slicer project, custom cheese slicer, food-safe woodworking, how to make a cheese slicer, woodworking gift ideas
