- Facebook11
- Twitter2
- Pinterest55
- Mix
- Tumblr0
- Print13
- E-mail8
- 89shares
While browsing the Wood Magazine website recently, I stumbled upon a fantastic free plan for a battery organizer. It’s a straightforward and super practical project, perfect for getting your workshop a bit more organized. Plus, I’ve got a growing list of free project plan sites I love to share with fellow woodworkers—so keep an eye out for more ideas like this!
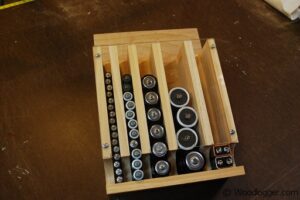
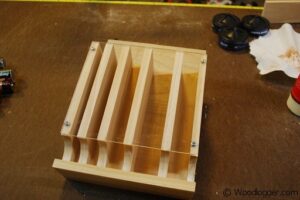
This battery organizer is as simple as it gets. After finishing mine, I mounted it on the pegboard in my garage, and it’s been a game-changer for keeping my batteries easy to find and neatly stored. The best part? You can build it in just a few hours with minimal materials.
For the clear acrylic divider sections, I picked up a piece at a hobby store for a great price. It added a clean, polished look to the final piece without breaking the bank.
I’ve also made a video showing how I built mine, so be sure to check that out below. If you decide to make one for your shop or garage, I’d love to hear about your experience—or even see some photos of your version!
Happy woodworking!
Materials
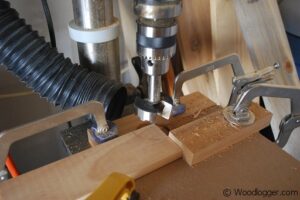
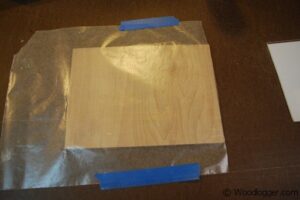
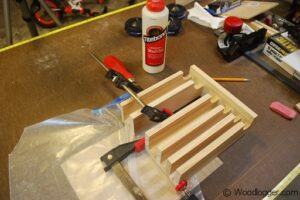
For the lumber on this I was lucky and had some scrap hardwood that I was able to use. For the rest of the project I was able to build this with only one board. I made mine out of pine. For the front of the project I picked up some plexi-glass from a hobby store and cut it down to size using my table saw.
- (1) 1″ x 3″ x 8′ Board (you might be able to squeak this out with a 6′ board, but it’ll be close)
- (1) 1/4″ x 1′ x 1′ piece of hardwood (will cut down to less than 1 foot)
- (1) 1/8″ x 7″ x 8″ plexi-glass
Milling & Assembly
Finishing
Not a lot to finishing this (this one is going in the garage folks). In fact I chose to just sand lightly the sides and back, and not apply any finish.
This is the coolest thing ever!! Would you make me one if I paid you? Please!!!!
-Damian (from Phoenix)
Thanks Damian. Sorry I don’t really sell the stuff I make. You may want to check out Amazon.com they have a lot of battery organizers.
Hello. Awesome project! I am trying to download the plans but I can’t find them can you help?
Hey the original plans from the magazine have been taken down. Do you have directions somewhere that I could use?
@David and @Jen, I just saw your questions. I realize it’s been over a year since you posted it, but I found the plans at http://makezine.com/2015/08/30/make-a-simple-wall-mounted-battery-organizer/.