

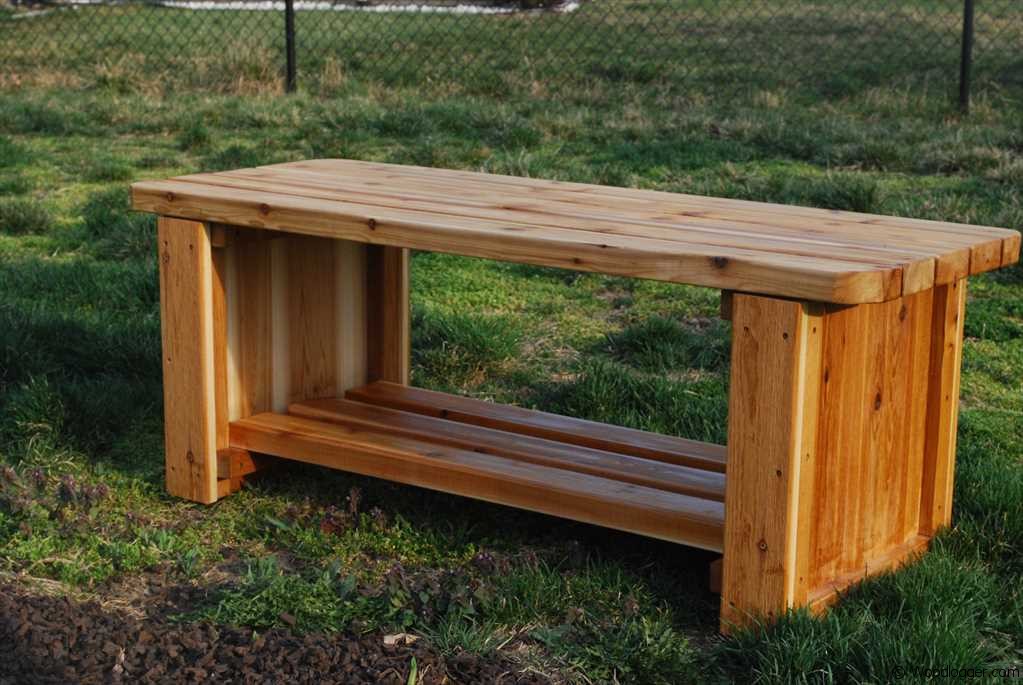
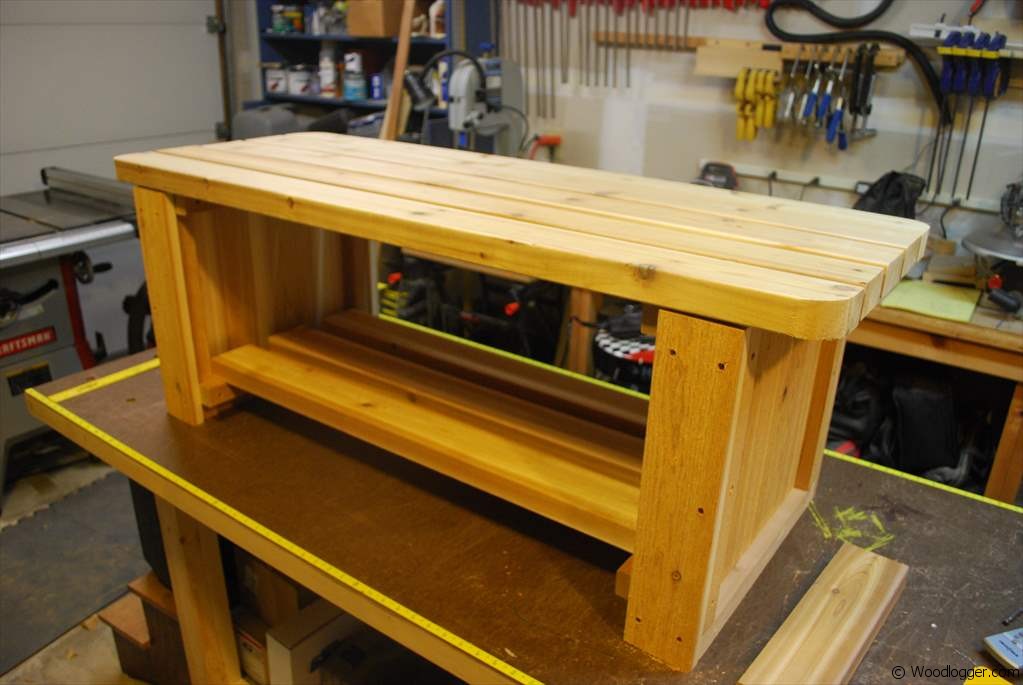
I made this Fire Pit Bench in an afternoon. It’s a great real life project, that beginners and advanced beginners can make. The bench is sturdy and since there is a great space underneath it for firewood it’s practical too. I also really liked the look and I’m considering make a few more. Outdoor cedar benches always look so nice, and with a little treatment can last a long time.
I found the plan for this in a book I picked up: Black & Decker Outdoor Wood Furnishings You can get it for pretty cheap at amazon. I’ve seen the same plan published in other Black & Decker books too. If you haven’t checked out some of Black & Decker’s woodworking books there definitely a great investment. I’ve created many projects, and been inspired to build other things based on their plans.
For a little extra help with this project I also put together a video of how I made this below. If you make one of these be sure to post it over on the WoodLogger Facebook Page. I’d love to see how yours turns out.
Materials
Not a lot for this one. I used a single board that I was able to pickup at Lowe’s.
- (2) 2″ x 2″ x 8′ – Cedar
- (4) 1″ x 4″ x 8′ – Cedar
- (4) 2″ x 4″ x 8′ – Cedar
- (1) 1″ x 2″ x 8′ – Cedar
Milling & Assembly
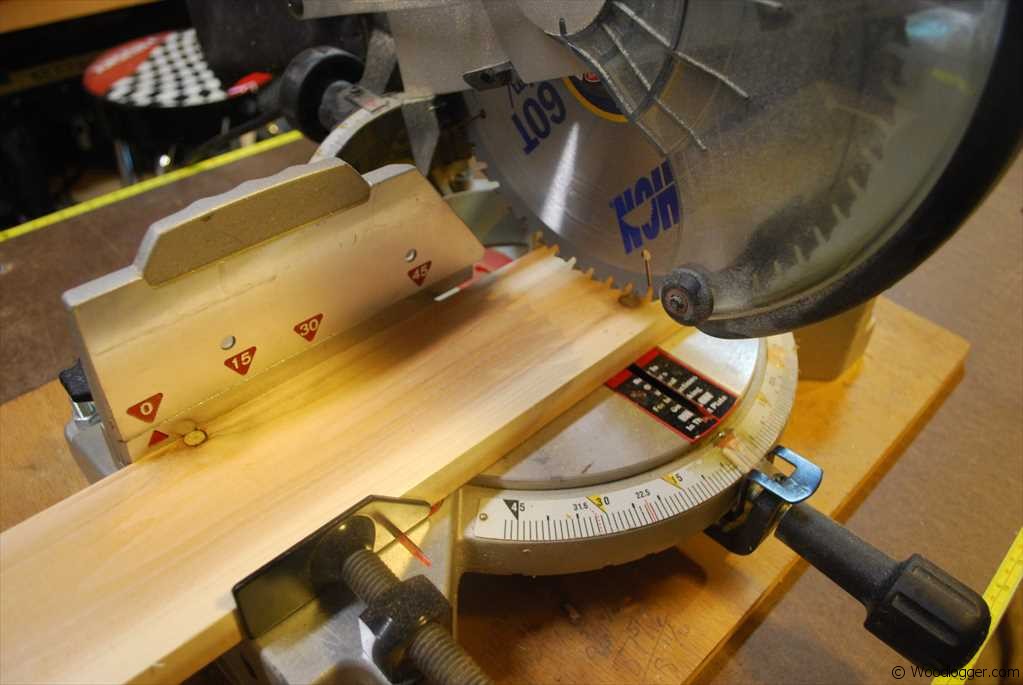 |
For the bench I chose to make all of my cuts using a miter saw. Nothing complicated about these cuts. |
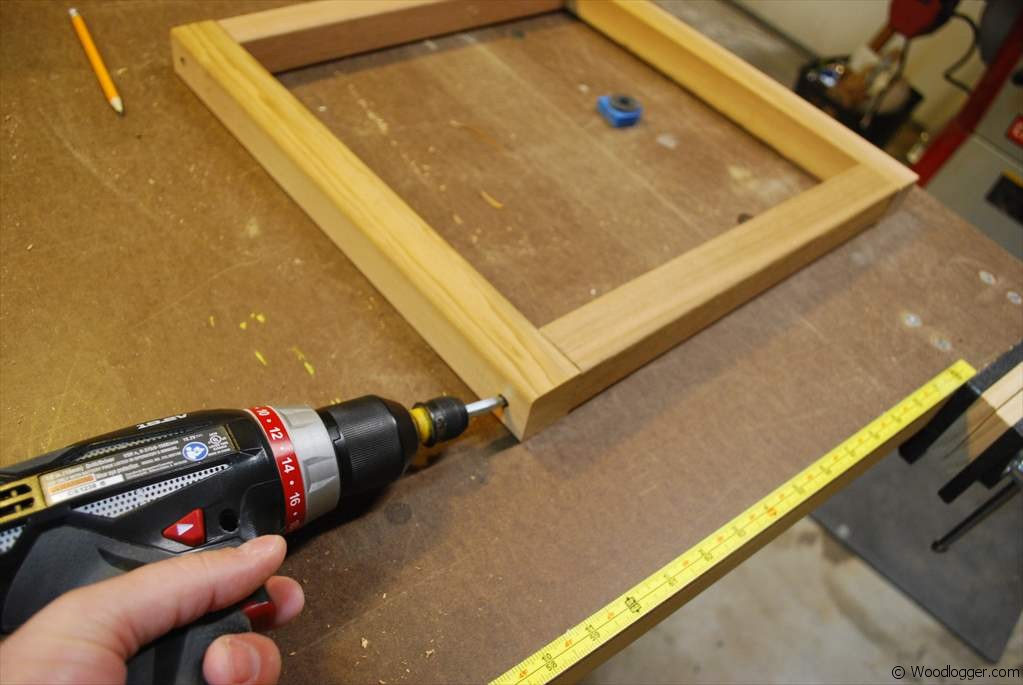 |
To start on the bench the first thing I worked on was creating the sides. |
  |
After building the side frame, I attached side runner boards to the frame to create a more sturdy side. If you follow the plan it actually uses a more decorative look of running the boards at an angle. I chose a more simple look. |
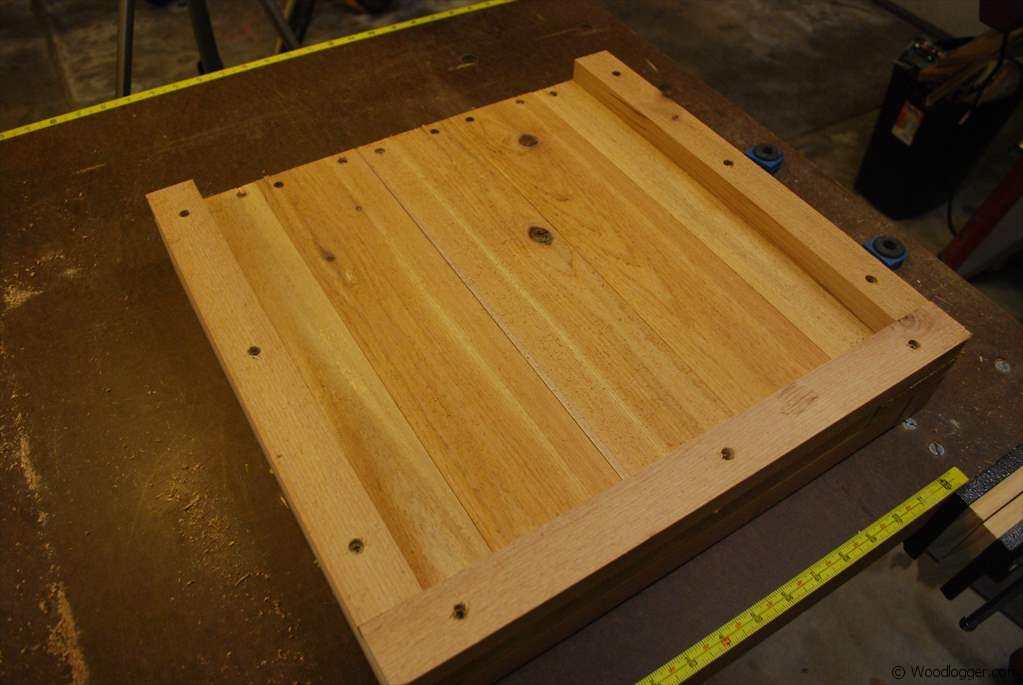 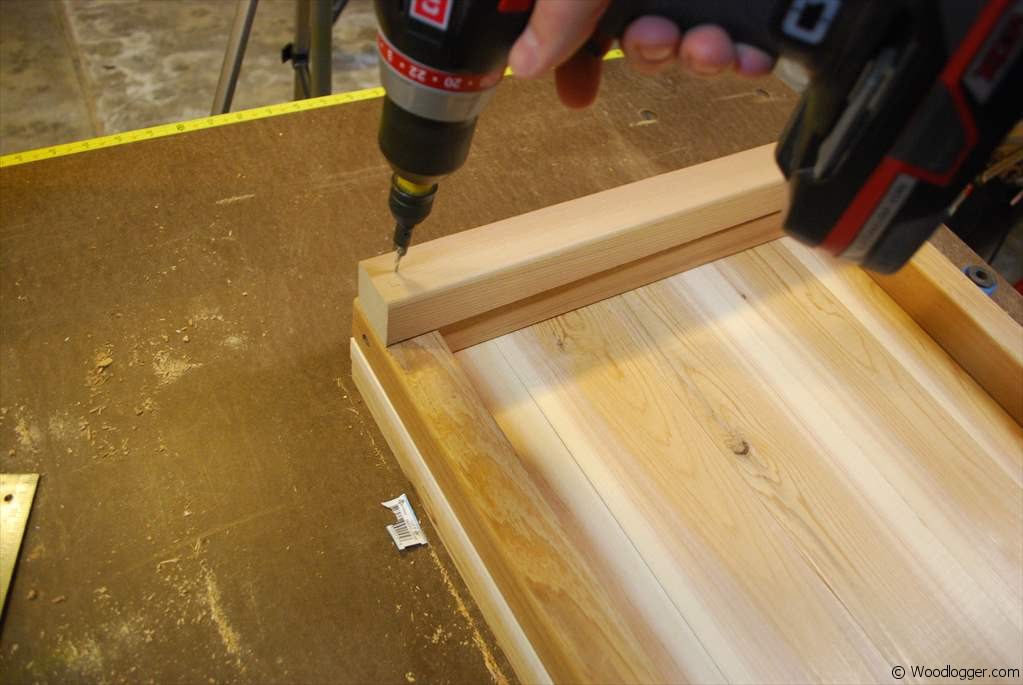 |
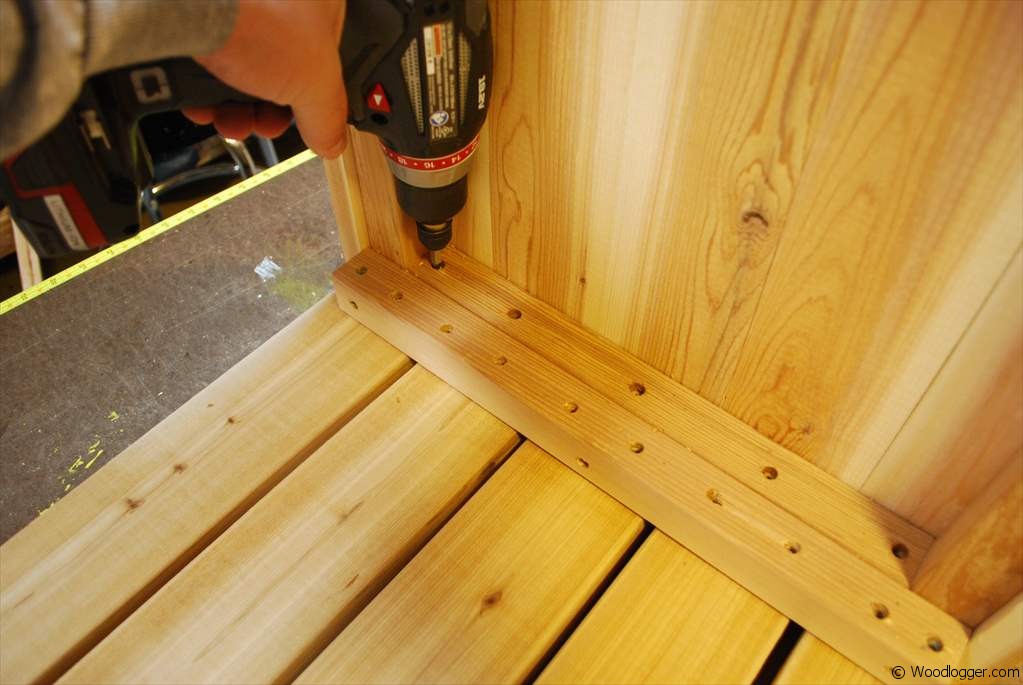
I attached three frame boards around the sides. The top deliberately doesn’t have a board as it will be hidden by the top of the bench. After I attached the frames, I then flipped the side over and attached a cleat. The top of the bench will be attached to these. |
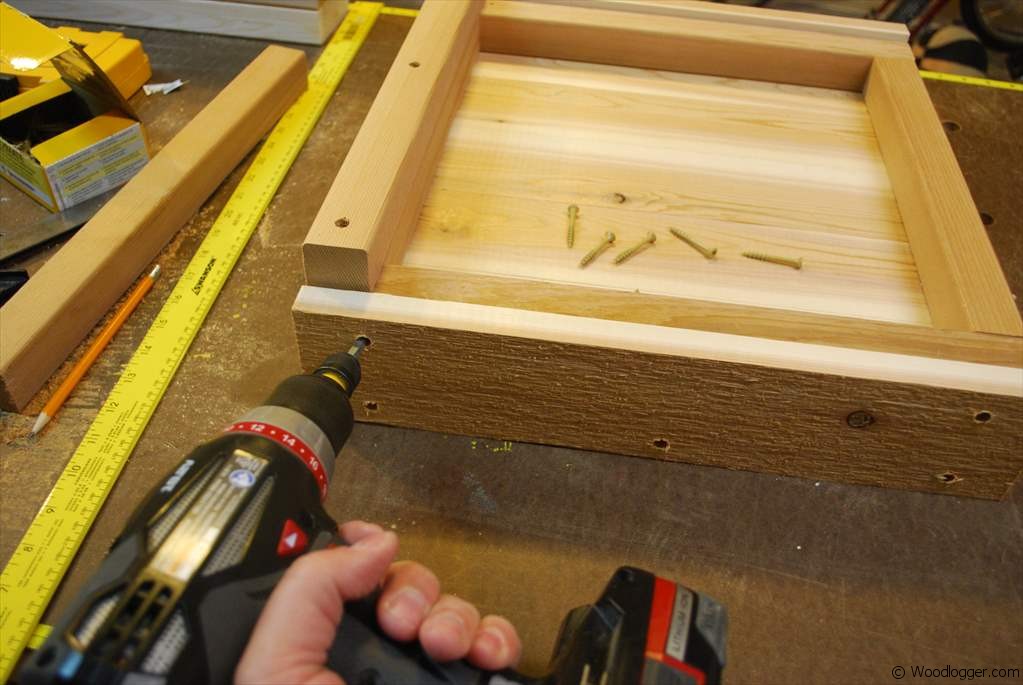  |
After I had the sides assembled, I attached a front board to the side for decorative purposes.Here is a completed side with the cleat on the inside, and the decorative frame on the outside. |
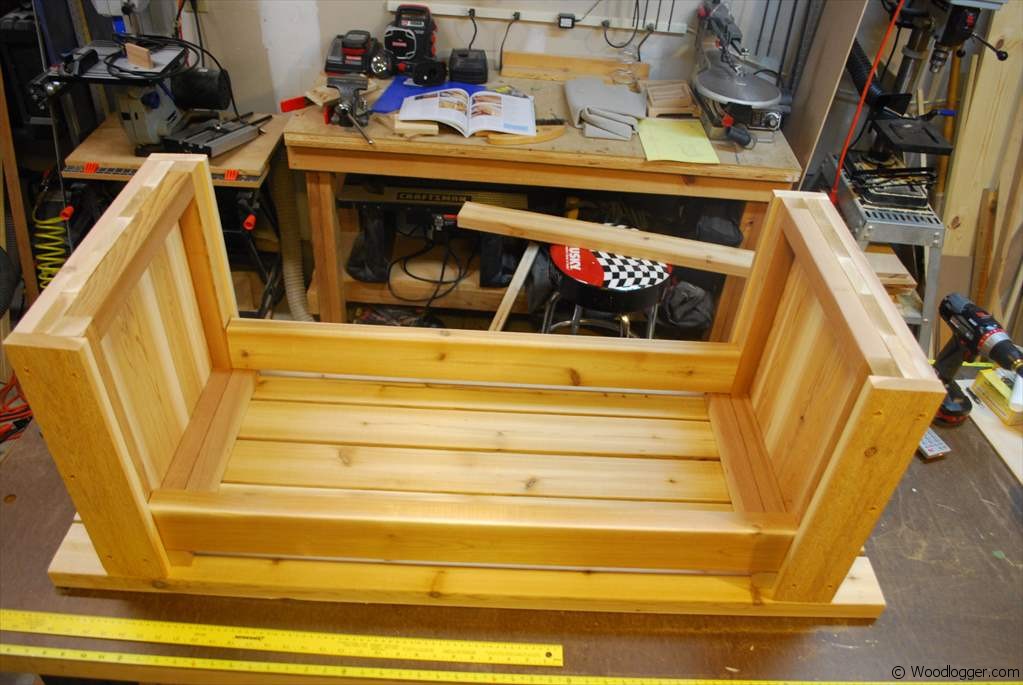  |
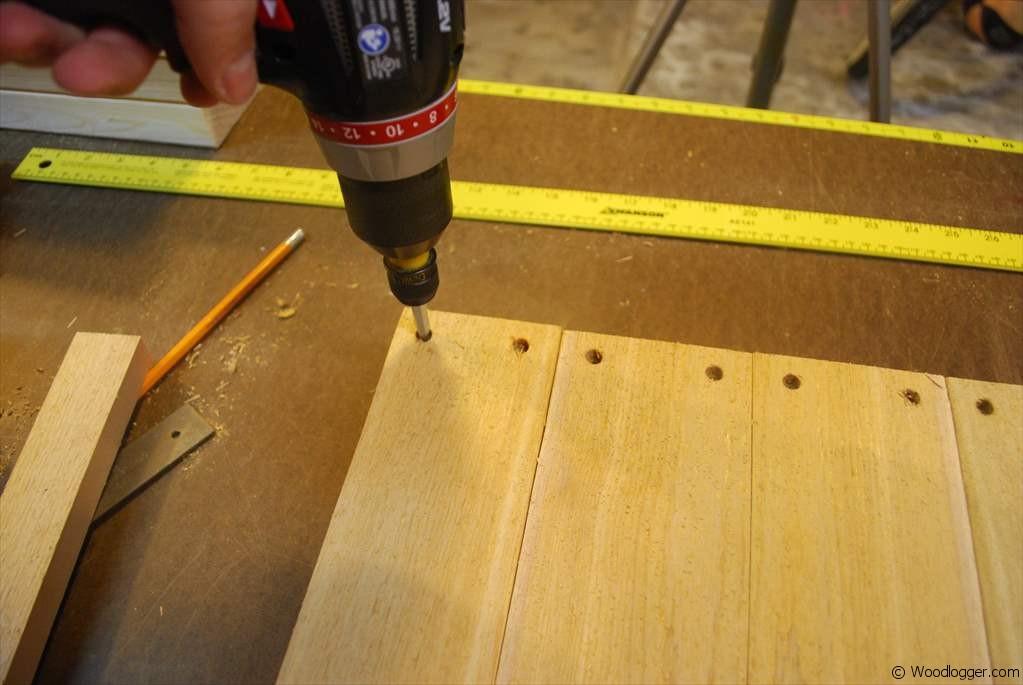
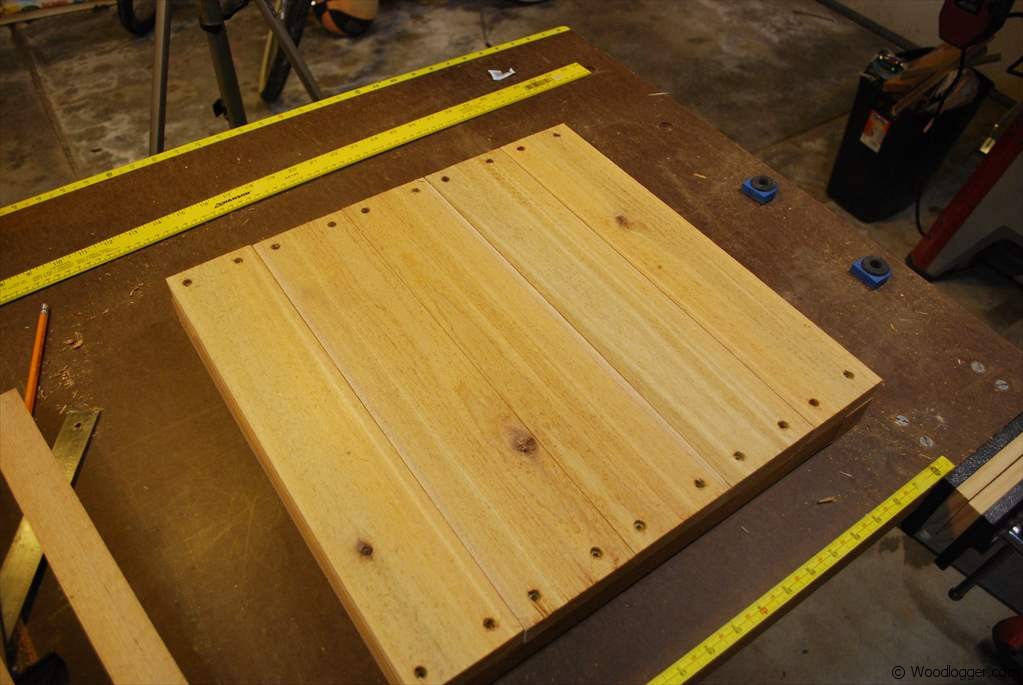
I attached the completed sides to the top of the bench. I used side beams as spacers before attaching them.I attached the top of the bench to the sides and cleats using deck screws. |
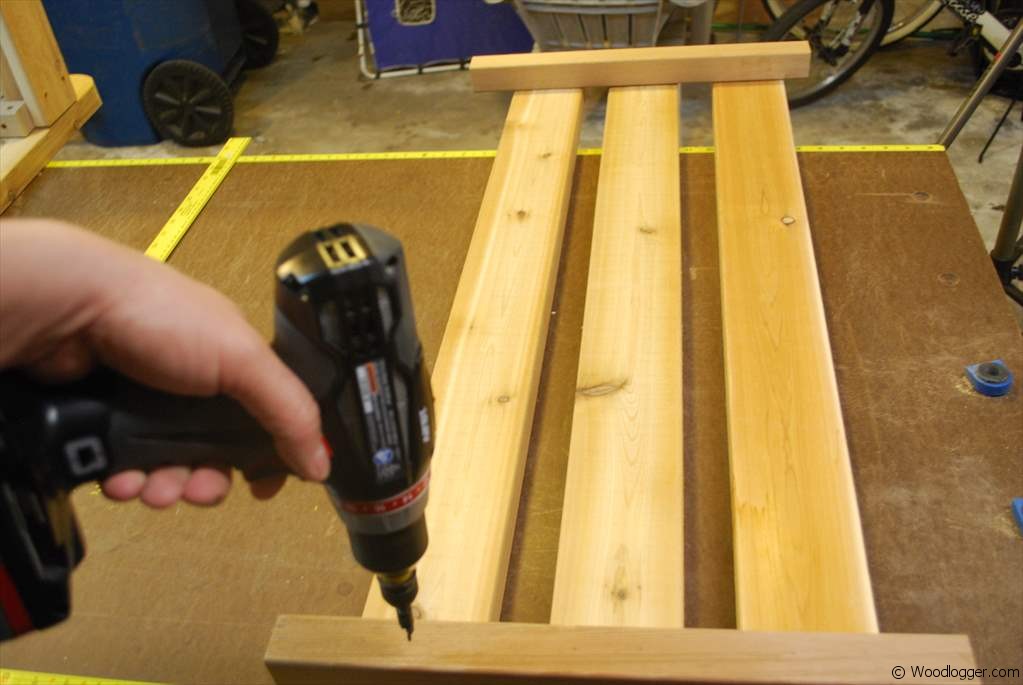 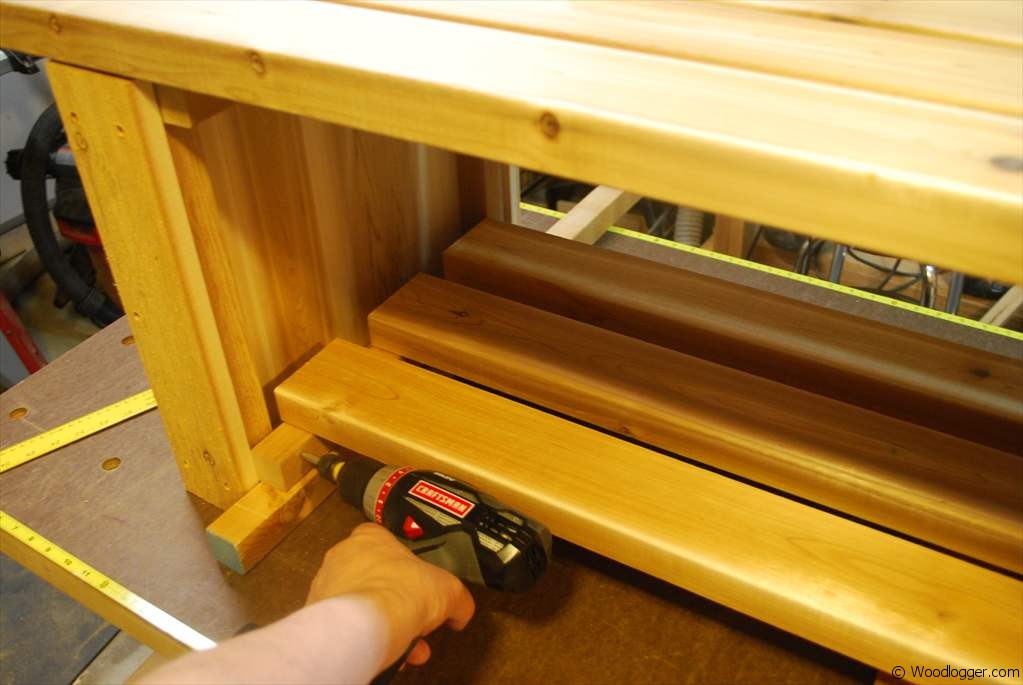 |
For the shelf I attached the shelf boards to a couple of 2×2’s. After building the shelf I attached it to the sides of the bench using deck screws. |
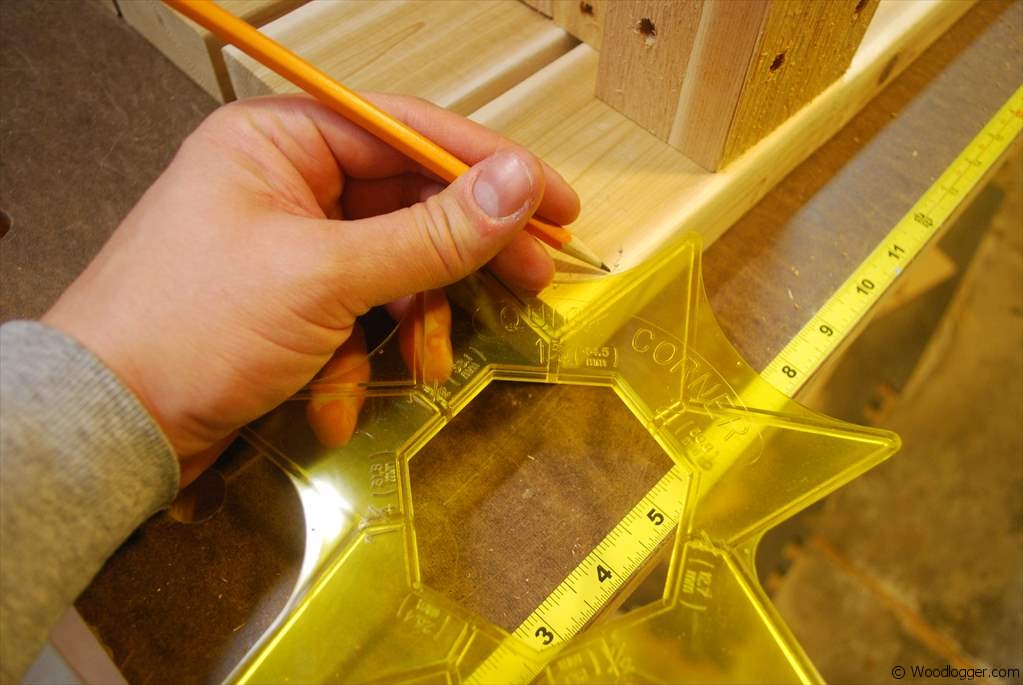 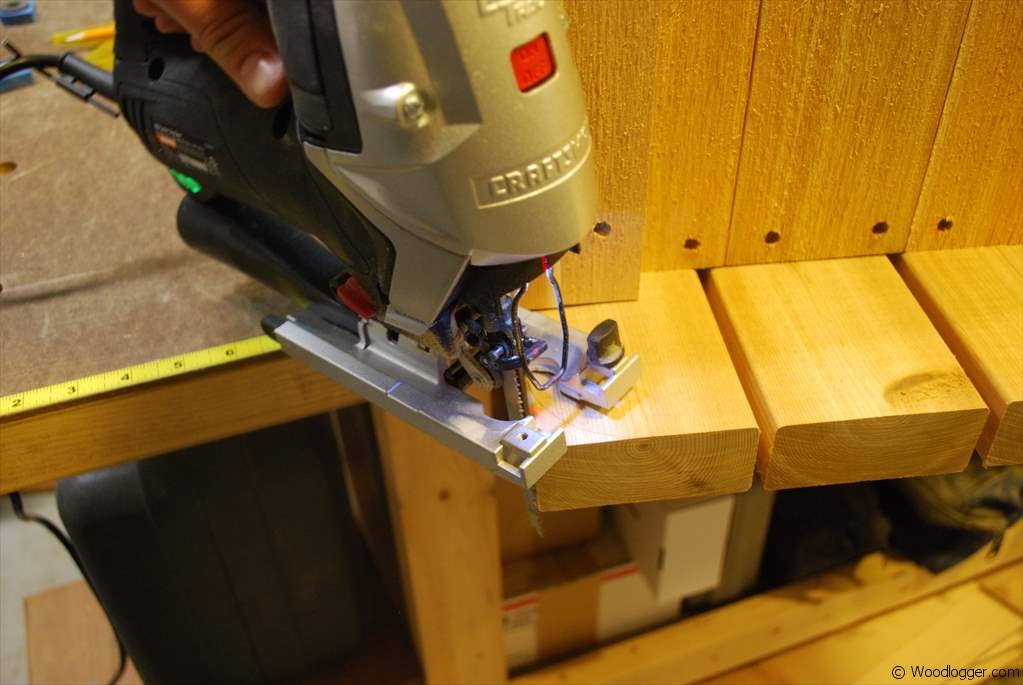 |
I used a Quick Corners Set marking tool to help with marking the cuts I would make on the corners of the bench.I cut the corners off of the bench using a jig saw to give it a smoother profile. |
Finishing
To finish this, I sanded the whole piece using medium grit sandpaper. I also Broke all of the hard edges with sandpaper. I applied two coats of an exterior rated lacquer.
Items Used to Finish this
