- Facebook14
- Twitter5
- Pinterest51
- Mix
- Tumblr1
- Print81
- E-mail26
- 178shares
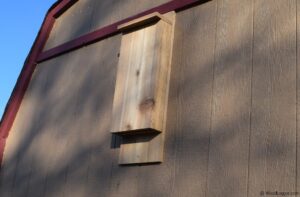 Over the years, I’ve built plenty of birdhouses and feeders, but this bat house project was a bit of a throwback for me. I made my first one several years ago, but it didn’t hold up over time. So, I decided to give it another go, this time using a plan from the book Birdhouses & More by A.J. Hamler. Hamler’s plans are known for being simple and easy to follow, and this bat house design was no exception. It’s made entirely out of cedar, which is a fantastic outdoor wood that should stand the test of time.
Bats are incredible creatures and can be highly beneficial to have around. Did you know that a single bat can consume up to 1,000 insects in an hour? That’s nature’s pest control at its finest! Attracting bats to your backyard not only helps reduce mosquito populations but also supports local biodiversity. Many bat species are in decline due to habitat loss, so offering them a safe and cozy place to roost is a great way to help.
This bat house is designed with straightforward cuts and joinery, making it an excellent project for anyone, even beginners. It features narrow chambers that replicate the snug crevices bats prefer for roosting. Bats like warmth, so placing your bat house in a sunny spot, about 12 to 20 feet off the ground, increases the chances of attracting them.
Cedar wood is ideal for this project because it’s naturally resistant to rot and insects, which means your bat house should last for years. I’m hoping this revamped version will finally attract some bats to my yard. If you decide to build one, don’t forget to share a photo on the WoodLogger Facebook Page—I’d love to see how yours turns out!
Material List
- (1) 1″ x 12″ x 6′ – cedar
- (1) 1″ x 6″ x 6′ – cedar
Milling & Assembly
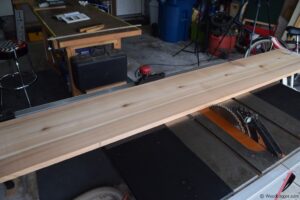 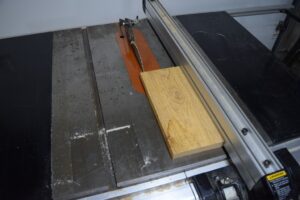 | To get started on the bat house. I cut cedar boards to length (front is 22-3/4″ in length x 11-1/4″ width, back is 32″ x 11-1/4″)following the cut list from the plans. |
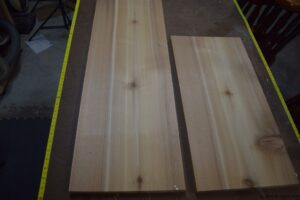 | The basic structure of the bat house is a simple box with an opening on the bottom for the bats to crawl in and out. The back of the house is a longer board which is used to attach to what ever you have. In my case I have a mini barn in my back yard. |
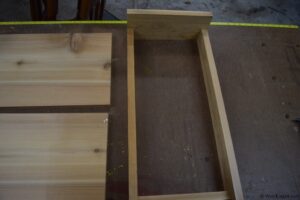 | I rough assembled the sides (cut to a length of 2-1/2″ x 23″) to the top back and front to ensure a good fit. |
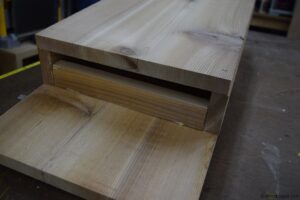 | For the assembly I used an externally rated wood glue. I left about a 1 inch gap in the bottom for the bats to crawl in and out. |
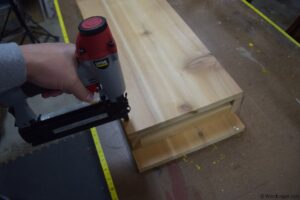 | To secure all the boards I used an exterior rated glue and 1 – 1/2″ brad nails. If you have regular nails or screws that would work just as well. |
Hi Daris — Glad you enjoyed the bat house project. Best of luck getting bats! I put one out on my small shed, and they seem to like it. Of course, we live next to a huge open field so there’s lots of bat chow around here — they never go hungry.
I’ve watched your video, very intuitive and easy to understand. But i have a question! What are the Bats to hang from ?
I always read do NOT put screen inside. The rough cut cedar is enough for them to grab onto. OR run the inside across a bit.
The houses I have made in the past call for window screen inside on the back to give them something to grab onto. The houses should be mounted on a solid structure such as a house or shed. They do not like the motion of houses mounted on trees. I made 4 of these for our Lions Club property in Enfield Nova Scotia.
Is there a way for me to print out the bat house instructions? Every time I try, my phone gets hung up.
Use rough-cut cedar or use a saw to scratch up the surface. There’s no need to add non-biodegradable components except nails or screws