How to Make a Step Stool
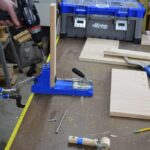
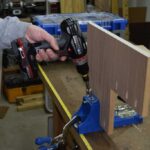
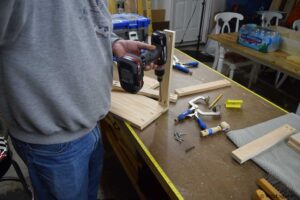
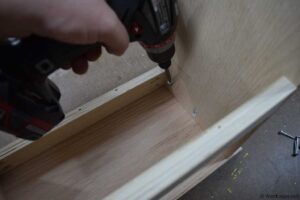
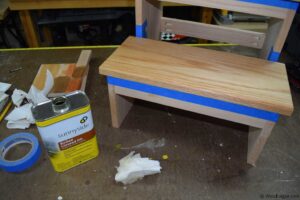
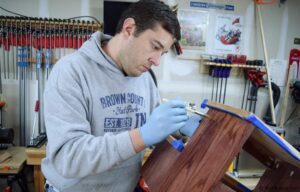
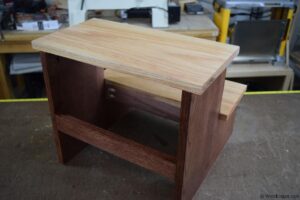
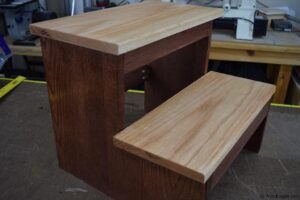 I made a step stool real similar to this years ago. I really like how solid it feels and the contrast in the finishes between the steps and sides look great. This step stool was easy to make; with pocket holes used for all the joinery you can easily make this in a few hours. If you’re not familiar with pocket holes you should definitely look into them. I’ll include a link at the bottom of this post. They’re easy to use and make joinery really easy. In fact I use pocket holes whenever I can. I made the entire stool out of Oak. The steps are solid oak, and the sides and stretchers I used oak plywood. For the finish I used boiled linseed oil on the steps. For the sides I stained them with a red mahogany stain, and then applied a layer of polyurethane on top of that. The finish has a great contrast and I’ll be using this one for years to come.
If you make one of these be sure to post a picture of it over on the WoodLogger Facebook Page. I’d love to see how yours turns out.
Material List
- (1) 1″ x 4′ x 4′ Oak Plywood
- (1) 1″ 8″ x 4′ Oak
Cut List
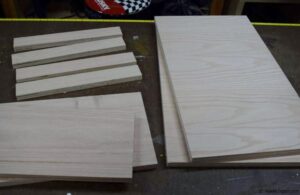
- (2) Sides – 3/4 x 15-3/4″ (front to back length) x 14″ (top to bottom length)
- (4) Stretchers – 3/4 x 2 x 14″
- (1) Top Step – 3/4 x 9-1/4 x 17″
- (1) Bottom Step – 3/4 x 7-1/2 x 17″
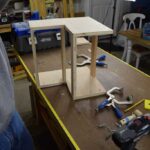
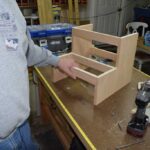
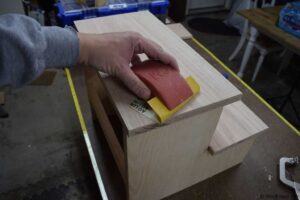
Milling & Assembly
Items Used to Finish this
Hey there mate.
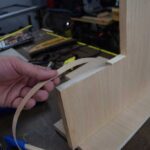
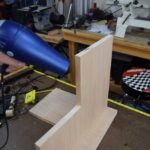
Very helpful videos. Just a suggestion to make your life easier in the future. For the edge banding you can use your wife’s steam iron. You don’t need to use steam. Just let it warm up and it sticks instantaneously.
Keep the good work