Butterfly House
- Facebook37
- Twitter6
- Pinterest182
- Mix
- Tumblr0
- Print57
- E-mail26
- 308shares
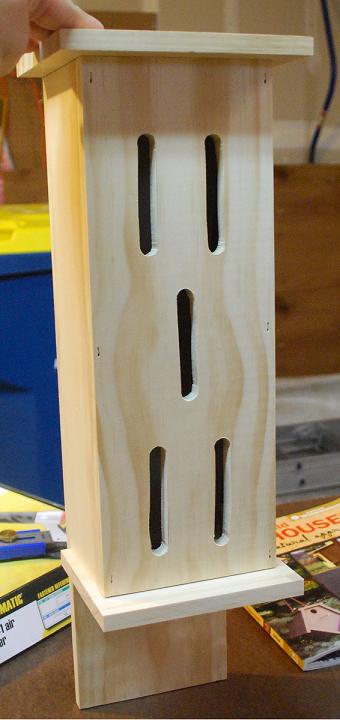 My wife has been wanting a butterfly house for a while now, and she’s had it on my project list since last winter. Butterfly houses provide a cozy, sheltered space for butterflies to rest during bad weather or cold nights, which can help attract more of these beautiful pollinators to your garden. In this post, I’ll go over how to build a butterfly house and what a fun, straightforward project it turned out to be.
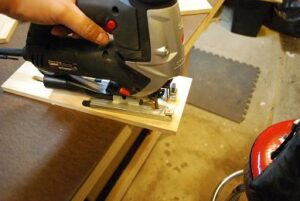
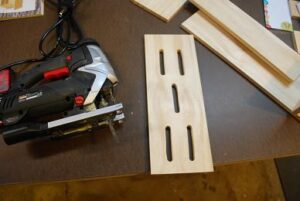
It’s a relatively simple build with vertical slits for butterflies to enter, and you can add small perches inside to make it more inviting. I completed it over a weekend, and my wife was definitely pleased with how it turned out. I still think my jigsaw skills need improvement, though—some of the cuts were a bit uneven. I probably should have used a straight edge to guide the cuts, but I tend to get a little hardheaded when it comes to trying things freehand!
The plan I followed for this came from a book that I picked up, Easy to Build Birdhouses- A natural approach. I reviewed this book in a previous post.
If you make one of these be sure to post it over on the Woodlogger Facebook Page. I’d love to see how yours turns out.
Materials
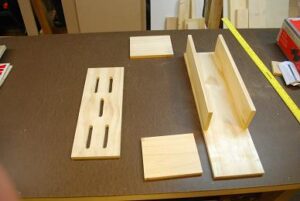
For lumber, I purchased everything I needed at Lowe’s. Not a lot to this. All of this is 1/2″ pine, but you could use anything you want provided you protect it for out-door weather. This one will be painted from top to bottom so it should be okay. I only used (1) – 1/2″ x 4′ x 8′ Pine
Milling & Assembly
Finishing
When it came to finishing this one up. My wife is going to paint the entire thing with exterior paint. You could finish it up with exterior stain, but I think butterflies like colorful things…!
Wow. very nice and easy. thanks. now can you show me how to make a bat house that easy
Thanks this really was an easy one to make. We have ours next to a butterfly bush on the side of our house.
What are the dimensions on the back, front, and sides – as well as the top and bottom?
What attracts the butterflies to the house?
Just wondering if it’s necessary to stain or paint the inside to protect the wood. Is it harmful to the butterflies?? thanks.
This is an interesting project. A little research, however, finds that there is no documentation that the butterflies actually use this structure (ref: http://www.naba.org/ ).
Do the inside need cleaning